Barcode Laser Marking for Permanent Product ID, Batch Codes and Inventory Tracking.
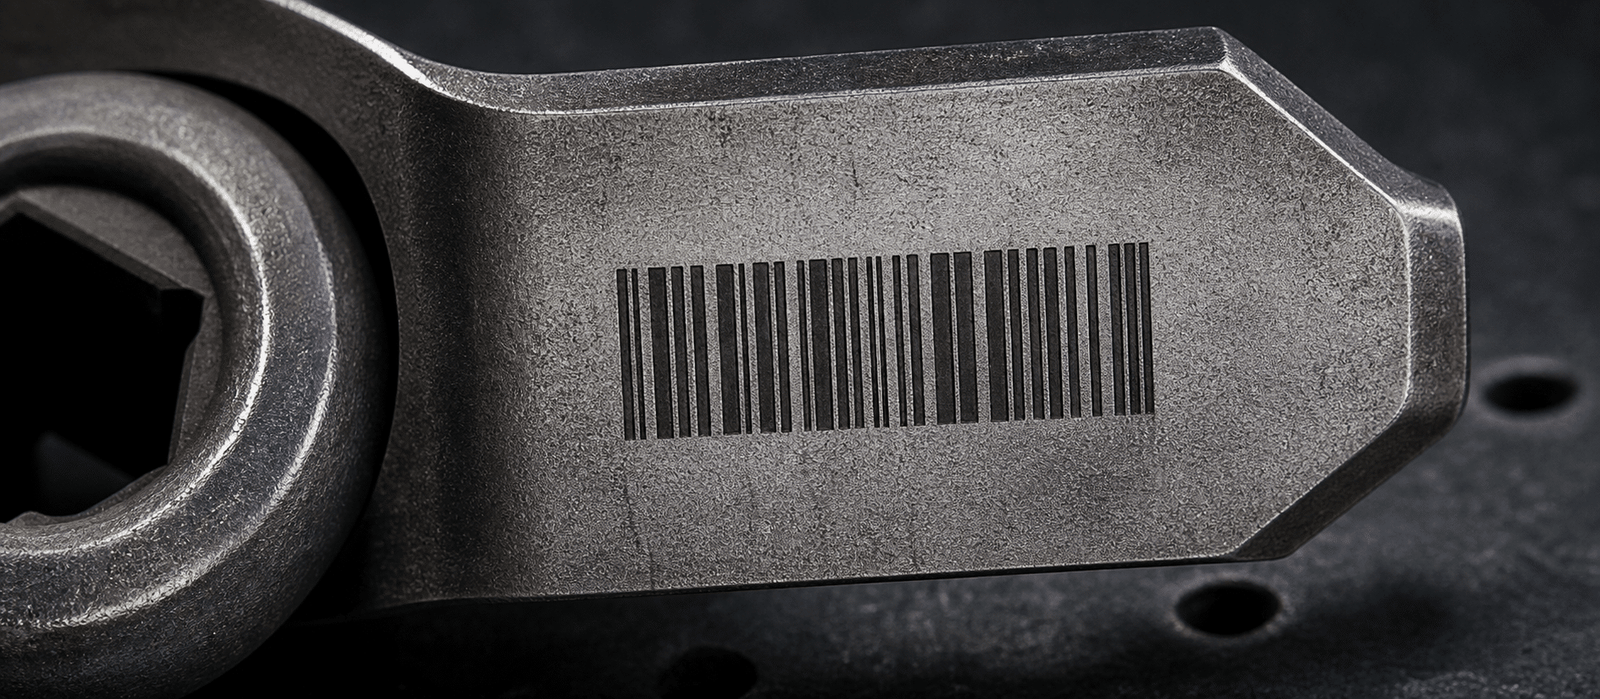
Oceanplayer barcode laser marking solutions help create durable, scannable 1D barcodes, serial numbers, batch codes and product IDs on metal, plastic, packaging, nameplates, tools and industrial parts. Build a marking setup around barcode width, material contrast, scan distance, line speed and production data flow.
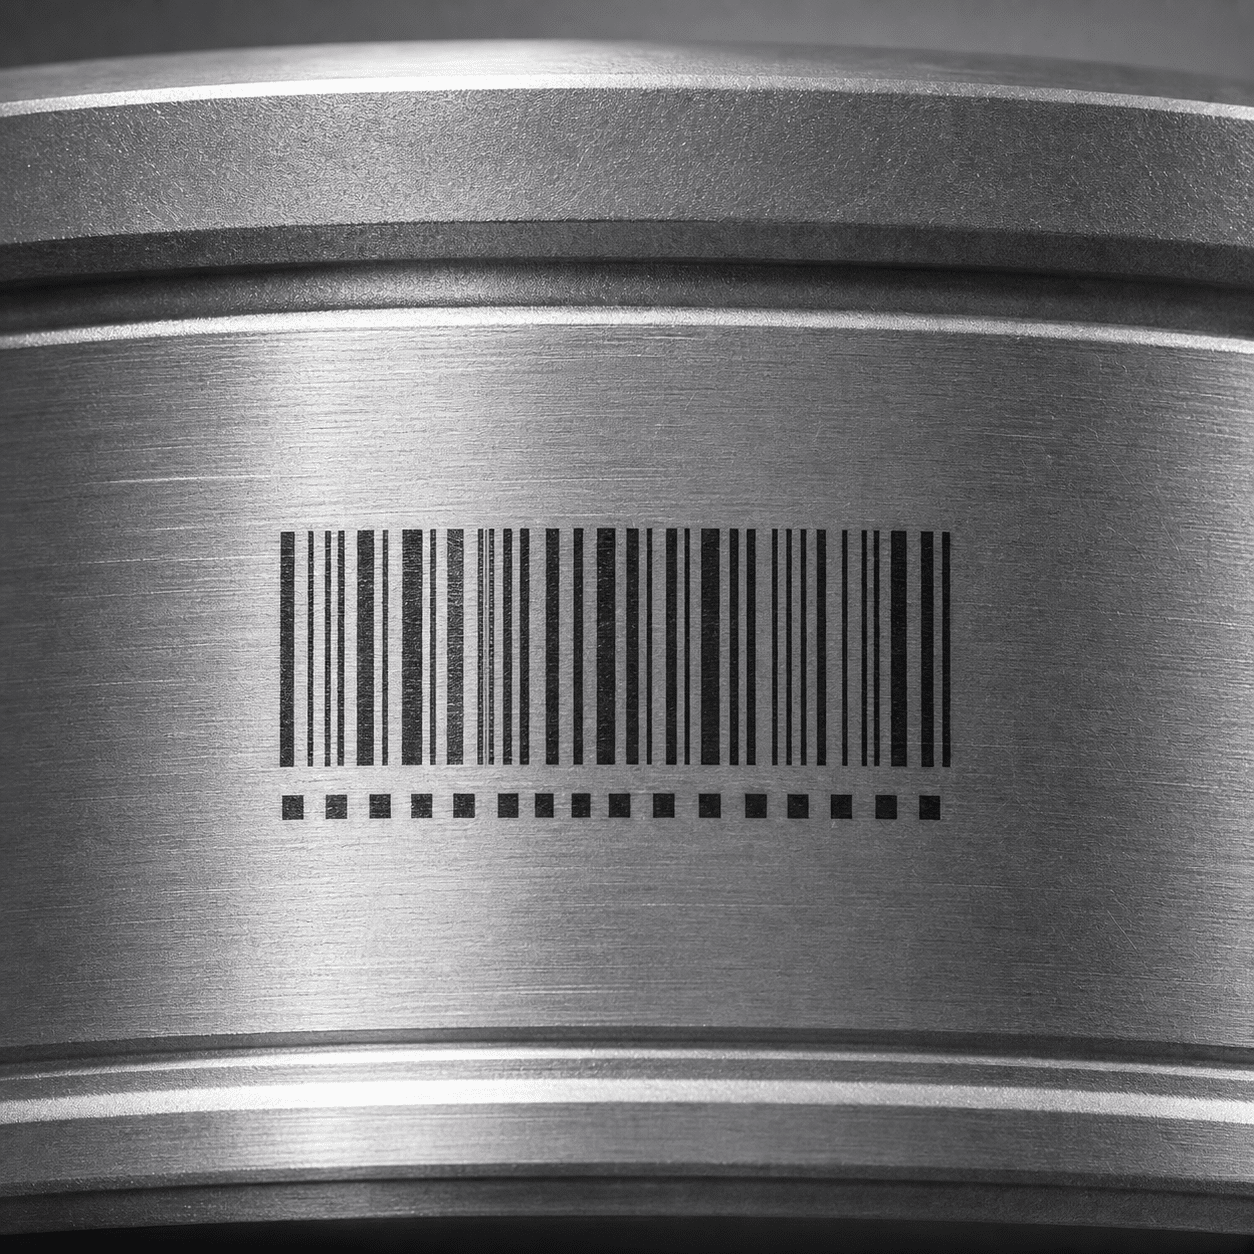
- Code 128, Code 39 and product barcodes
- Metal, plastic and packaging marking
Barcode marking must stay clear, aligned and easy to scan
For inventory and production tracking, the barcode needs consistent bar width, readable contrast and enough quiet zone after marking and handling.
Barcode lines must be sharp
Laser focus, marking speed, line spacing and material contrast all affect whether a barcode scanner can read the code quickly.
Data changes by batch
Many production workflows need changing serial numbers, dates, batch codes, model codes or order information.
Marks need long-term durability
Laser-marked barcodes can stay on parts without adhesive labels, ink fading or printing consumables.
Where barcode laser marking supports product tracking
Laser-marked barcodes are useful when products need reliable identification for inventory, production control, warranty tracking, logistics or compliance records.
- Metal tags, nameplates, tools, machine parts, housings and industrial components.
- Plastic housings, electronic parts, connectors, caps, packaging and labels.
- Automotive parts, medical tools, laboratory parts and aerospace components.
- Code 128, Code 39, product barcodes, serial numbers, batch codes and model codes.
- Manual marking stations, enclosed workstations and automated production lines.
Improve barcode readability by controlling bar width, contrast and quiet zone
Barcode laser marking is different from logo marking. The scanner needs clean bars, correct spacing and stable contrast across the full code length.
Clear dark-light difference
Strong contrast helps scanners separate bars and spaces more reliably during warehouse, line-side or handheld scanning.
- Match laser settings to material
- Check polished or reflective surfaces
- Test under real scanning light
Stable bar width and spacing
Small barcode widths need stable focus, accurate positioning and proper marking speed to avoid unreadable bars.
- Confirm minimum barcode width
- Reserve enough quiet zone
- Use fixtures for repeatability
Readable after handling and use
Products exposed to oil, abrasion, cleaning, heat or outdoor use may need deeper marks or a protected marking effect.
- Review cleaning and wear exposure
- Test before or after coating
- Check scanner after surface treatment
Select the laser marker by barcode material and production workflow
The best barcode marking setup depends on material, barcode size, line speed, scan method, contrast requirement and variable data needs.
| Barcode Marking Need | Common Laser Choice | Best Use | What To Check |
|---|---|---|---|
| Metal barcode marking | Fiber or MOPA laser marker | Stainless steel, aluminum, tools, tags and machined parts | Contrast, glare, bar width and scanner readability |
| Plastic barcode marking | UV, CO2, fiber or MOPA laser marker | Plastic housings, caps, connectors and electronic parts | Plastic type, color, additives and heat sensitivity |
| Packaging barcodes | CO2 or UV laser marker | Films, labels, bottles, cartons and selected packaging materials | Line speed, smoke, edge quality and packaging thickness |
| Variable serial barcodes | Automated laser marking system | Batch production, serial numbers, dates and database input | Data source, code rules, cycle time and verification scanner |
| Curved or round products | Laser marker with rotary or fixture | Tubes, caps, cylinders, rings and curved housings | Distortion, focal range, diameter and barcode alignment |
Review barcode laser marking results across different products
Compare barcode results on metal tags, aluminum plates, plastic housings, packaging, tools and automated production samples.
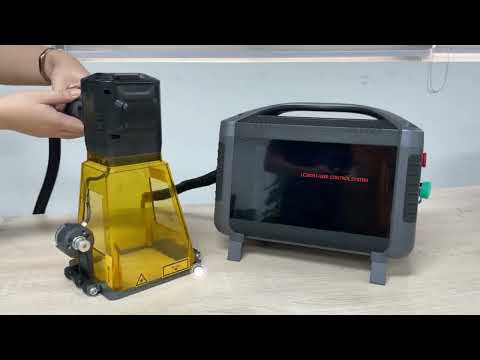
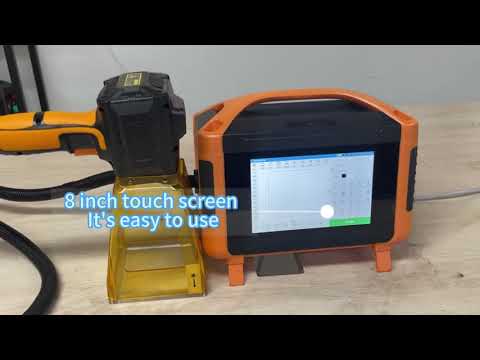
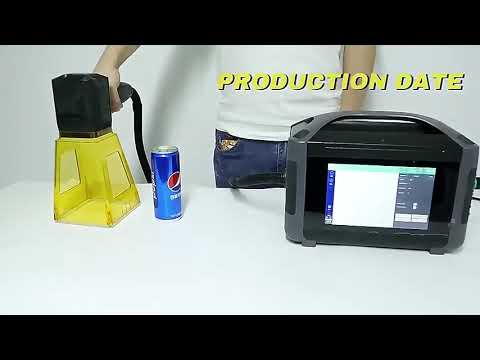
Watch barcode laser marking and scan verification
Review line clarity, barcode contrast, scanner readability and variable data workflow before choosing your configuration.
Build the barcode marking setup around scanner, material and data
A reliable barcode marking system may include a laser marker, fixture, enclosure, scanner verification, database input and production-line integration.
Fiber Laser Marker
Good for barcodes on many metal tags, tools, nameplates and industrial components.
MOPA Laser Marker
Useful when better pulse control or higher contrast is needed on selected metals and plastics.
UV or CO2 Laser Marker
Used for selected plastic packaging, labels, films, caps and heat-sensitive products.
Barcode Scanner Check
Helps confirm that marked barcodes can be read before parts move to packaging or shipment.
Fixture and Positioning
Improves barcode alignment, focus stability and repeatability for batch marking.
Automated Marking System
Supports conveyors, variable codes, database input, scanner feedback and production traceability.
Confirm these details before selecting a barcode laser marking system
Barcode readability depends on code design, material, marking contrast, scanner type and production workflow. These details help avoid unreadable codes and unstable batches.
Barcode type and size
Confirm Code 128, Code 39, EAN, UPC, product barcode, serial barcode or custom code format.
Material and surface
Share metal, plastic, coated part, packaging, nameplate, label or finished product details.
Scanner and scan distance
Handheld scanning, fixed scanner, line-side scanning and warehouse scanning may require different barcode size and contrast.
Variable data rules
Serial number sequence, batch rules, dates, model codes and database input affect software and integration choices.
Durability requirement
Review whether barcodes need to survive abrasion, oil, cleaning, heat, outdoor exposure or coating processes.
Production volume
Daily output, loading method, line speed and cycle time help decide manual, fixture or automated marking.
Send your parts and confirm barcode readability before production.
Share material, barcode type, barcode size, target scan distance, scanner type and production volume. Oceanplayer can test mark contrast, bar clarity and practical configuration options.
Share Barcode Details
Send material, barcode type, code size, scan distance and sample photos.
Test Mark and Scan
Check contrast, bar width, readability, cycle time and durability.
Choose Configuration
Select laser source, lens, fixture, scanner and automation level.
Explore more Oceanplayer laser marking options
Compare related machine and application pages to choose the right barcode marking setup for your material and workflow.