oceanplayer

Oceanplayer Laser Equipment | Cleaning, Welding, Marking, Automation Sample Testing | Global Shipping | OEM/ODM Support
Electronics Laser Solutions

Electronics Laser Solutions for PCB Marking, Plastic Parts, Metal Housings and Production Traceability.

Oceanplayer helps electronics manufacturers, EMS factories, connector suppliers and device assembly teams create readable codes, durable product logos and clean identification marks on PCB, plastic, aluminum, stainless steel, coated metal, cables and electronic housings.
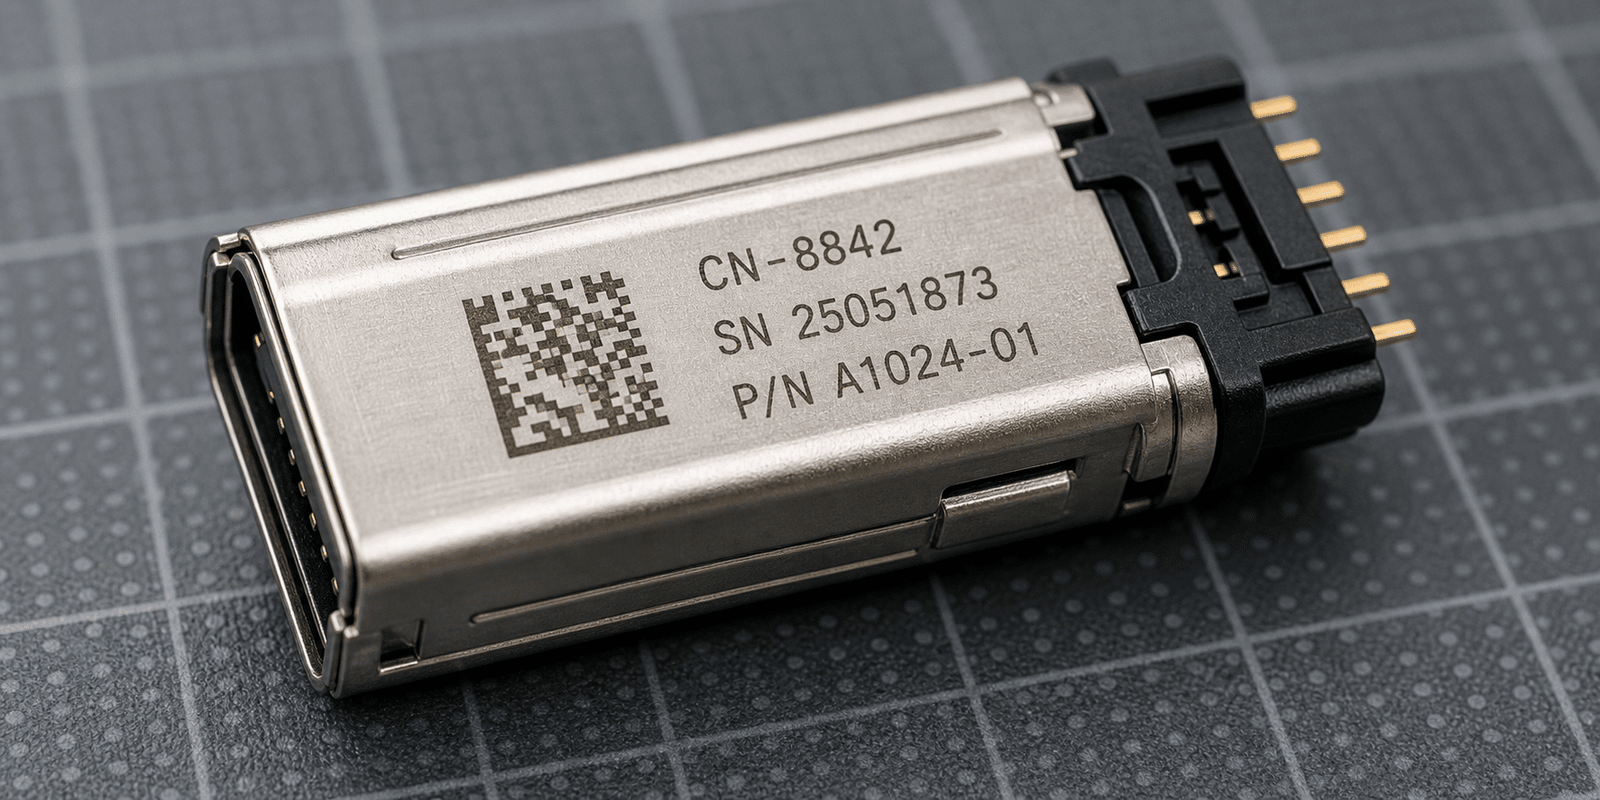
  • QR code, serial number, model and batch marking
  • PCB, plastic, metal enclosure and connector identification
  • Automated marking support for electronics production lines
Electronics laser marking cleaning and traceability solution for PCB plastic and metal components
Traceable electronics parts Readable codes, durable logos and automated marking workflows
PCB Code marking
UV Plastic parts
Auto Line marking
Readable Codes Support QR codes, serial numbers, Data Matrix and batch IDs
Material Match Choose UV, fiber, MOPA or CO2 based on part response
Fine Marking Small text and compact codes for tight electronic parts
Production Flow Fixtures, conveyors, scanners and automated marking support
Industry Needs

Electronics manufacturers need laser processes that support small parts, readable codes and fast production

Electronic products often include many materials and limited marking areas. A suitable laser solution should produce clean marks without slowing production, damaging the surface or creating unreadable codes.

PCB and Circuit Board Marking

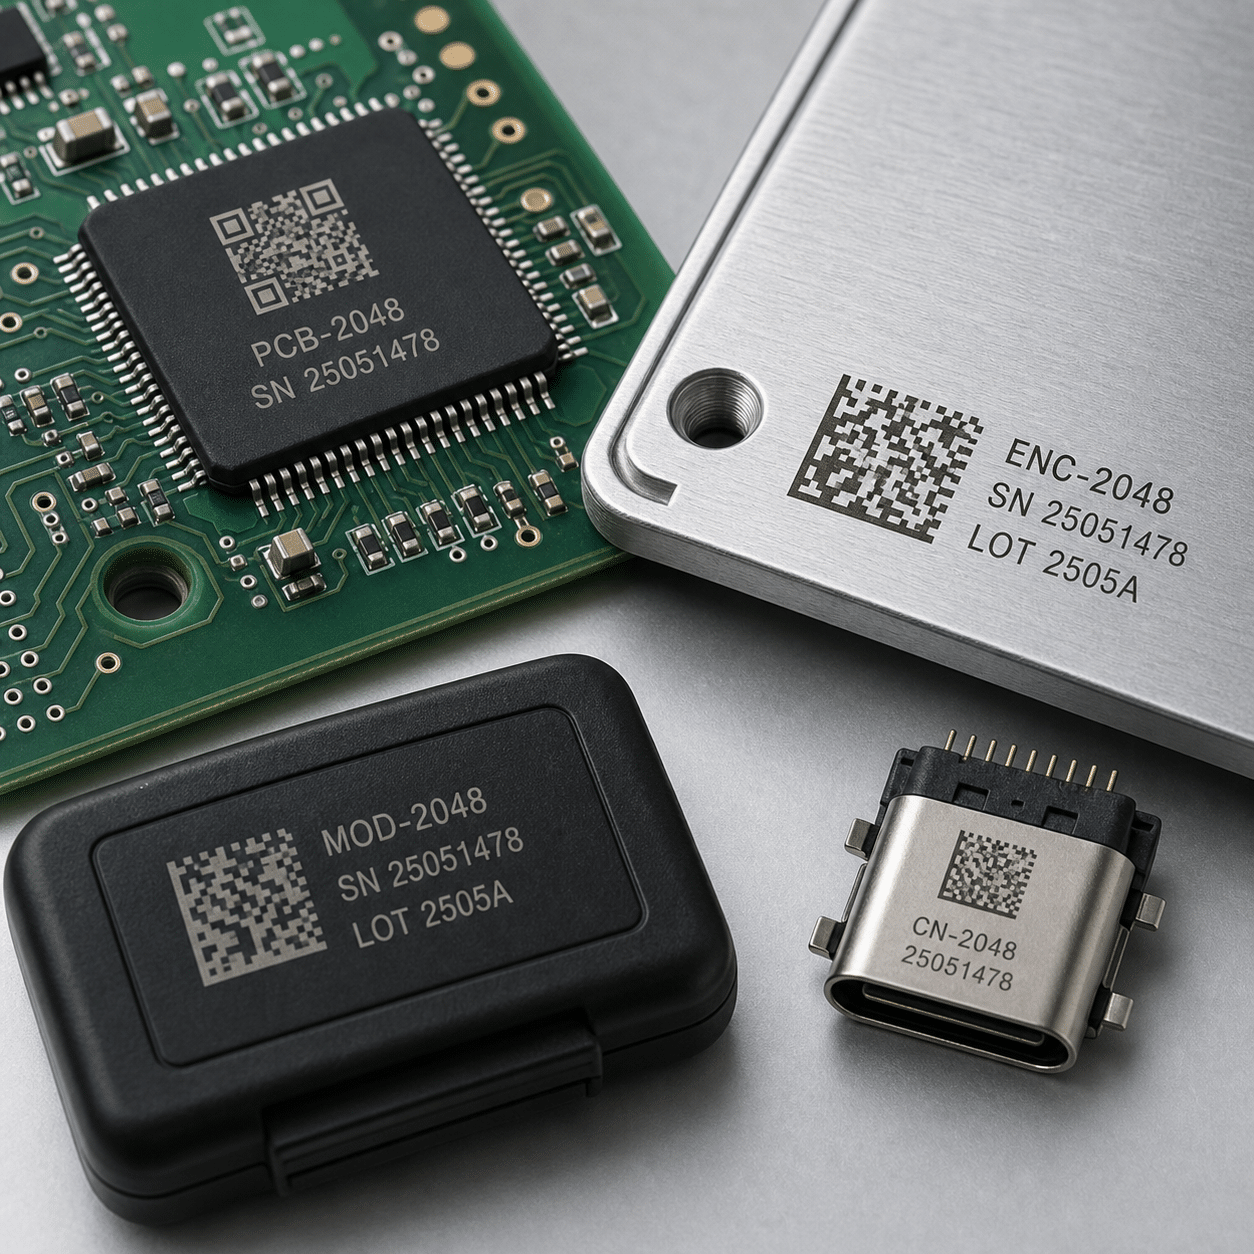
Mark QR codes, Data Matrix codes, batch numbers and production IDs on PCB surfaces for manufacturing traceability.

Plastic Housing Identification

Create logos, model numbers and serial marks on selected plastic housings, covers, switches, adapters and device parts.

Metal Enclosure and Nameplate Marking

Mark aluminum, stainless steel and coated metal enclosures with durable product IDs, logos and compliance information.

Connector and Cable Marking

Support part numbers, direction marks, wire IDs and production codes on connectors, terminals and selected cable materials.

Automated Line Integration

Use fixtures, conveyors, scanners and code input to integrate marking into repeated electronics production workflows.

Clean Surface Preparation

Clean selected oxide, oil or residue from metal electronic parts before welding, bonding, coating or final inspection.

Production Workflow

Fit laser marking into electronics manufacturing and assembly stages

Laser marking can be used before assembly, after functional testing, before packaging or inside an automated traceability station depending on your product flow.

Step 01

Confirm Material Response

Test PCB, plastic, coated metal, aluminum, stainless steel or cable material before production.

Step 02

Define Code and Position

Set mark size, code type, scan readability, surface location and product appearance target.

Step 03

Select Fixture or Conveyor

Choose manual positioning, nests, trays, rotary fixtures, conveyor marking or robotic handling.

Step 04

Verify Mark Quality

Check contrast, readability, surface effect, cycle time and production data connection.

Electronics Applications

Use laser systems for identification, branding and traceability across electronic parts

Electronics production often requires compact marks, clean logos and reliable data connection. Oceanplayer can help choose the laser source and fixture based on the material and production method.

  • PCB QR code, Data Matrix, batch and production ID marking.
  • Plastic housing, adapter, switch and consumer electronics logo marking.
  • Aluminum enclosure, stainless nameplate and metal cover marking.
  • Connector, terminal, sensor housing and small component identification.
  • Cable, tube and selected polymer part mark testing with UV or CO2 lasers.
  • Automated marking cells with conveyors, fixtures, scanners and code input.
Laser marking application for PCB plastic housings connectors and electronic components
Solution Matrix

Select equipment by electronics material, mark effect and production flow

Different electronic components respond differently to laser marking. Testing the actual material is the best way to confirm contrast, readability and surface effect.

Electronics Requirement Recommended Laser Option Best Use What To Check
PCB QR code and batch marking UV laser marker or fiber laser marker PCB, circuit boards, panels and compact electronic parts Substrate response, contrast, code size and heat effect
Plastic housing and switch marking UV or CO2 laser marking machine ABS, PC, selected plastics, adapters, covers and housings Polymer type, color change, burn effect and mark durability
Metal enclosure marking Fiber or MOPA laser marking machine Aluminum, stainless steel, coated metal and product nameplates Surface finish, coating layer, contrast and mark depth
Small serial numbers and logos Fiber, MOPA or UV laser marker Connectors, sensors, terminals, chips, covers and precision components Marking field, lens, fixture stability and readability
Automated traceability marking Automated laser marking system Conveyors, fixtures, trays, code input and scanner verification Cycle time, loading method, data connection and code verification
Quality Focus

Build the laser process around readability, surface response and line speed

For electronics production, a good mark must be small, readable and consistent. The process should also fit trays, fixtures, line speed and downstream scanning.

01

Compact Code Size

Confirm small QR, Data Matrix and serial marks stay readable within limited part space.

02

Material Response

Test plastic, PCB, coating and metal surfaces to avoid poor contrast or unwanted surface effect.

03

Fixture Accuracy

Use nests, trays and positioning tools for connectors, housings and small repeated parts.

04

Data Workflow

Connect code input, barcode scanning and verification needs to the marking station design.

Results Gallery

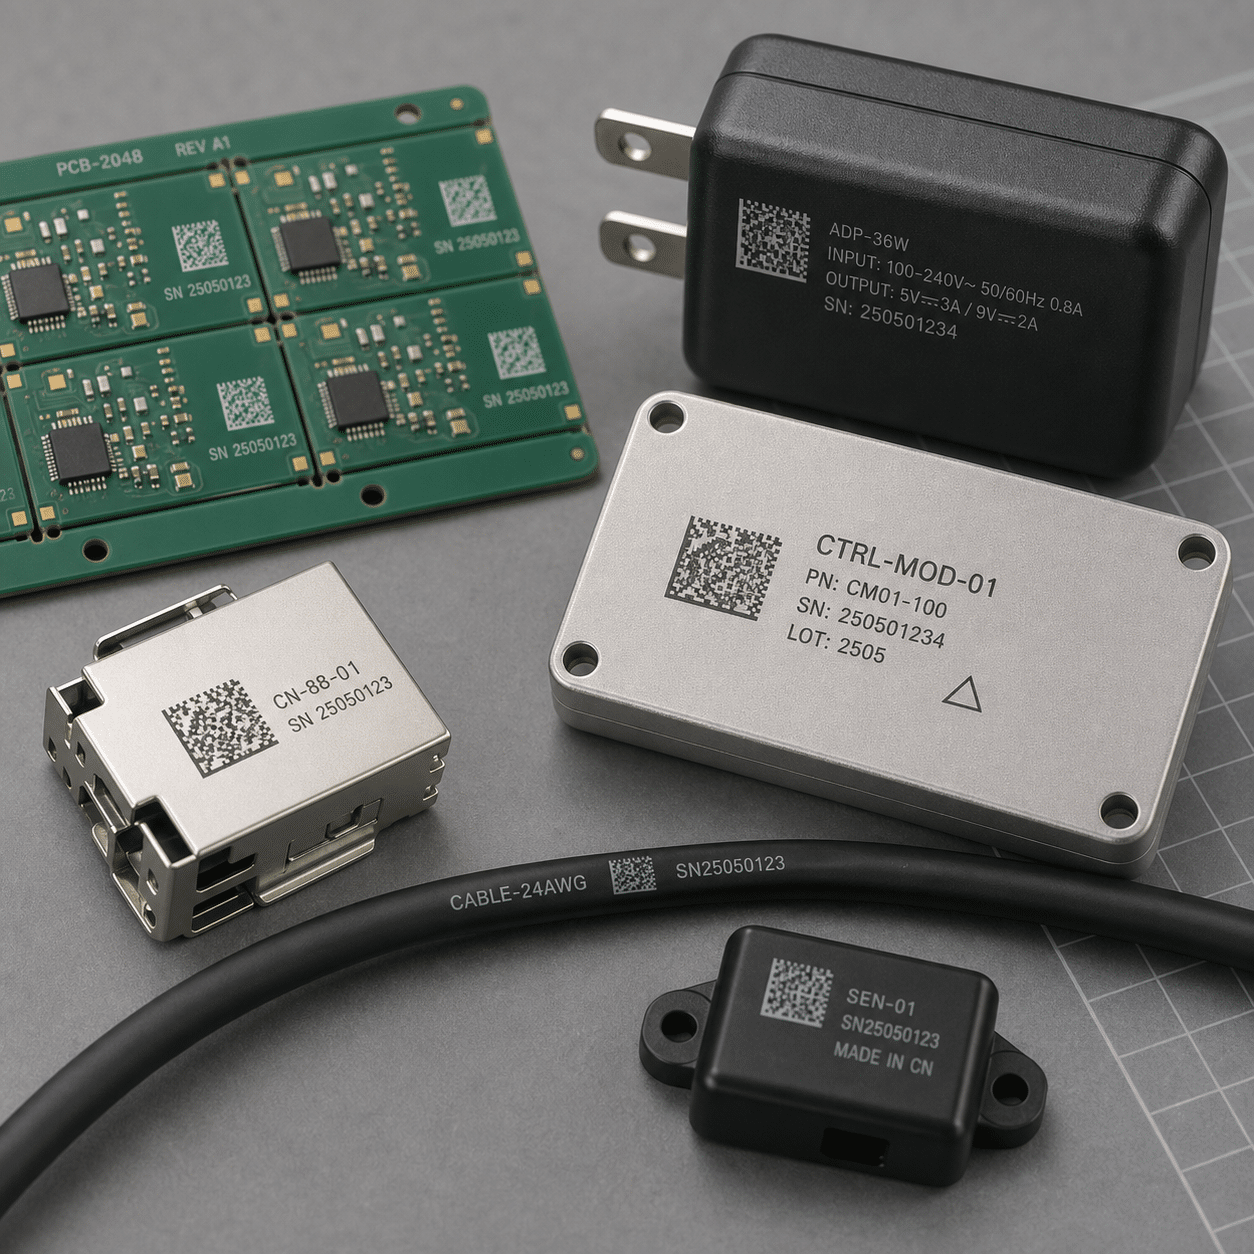
Review laser results for electronics marking and traceability

Result photos help your team compare mark contrast, code readability, surface effect and product appearance before selecting equipment.

System Options

Choose the right laser setup for electronics materials and production volume

Electronics projects often require material testing first. The final choice depends on contrast, heat sensitivity, code size and whether the station is manual or automated.

Metal Parts

Fiber or MOPA Laser Marker

Best for aluminum enclosures, stainless nameplates, metal covers, connectors and durable serial marks.

Line Integration

Automated Laser Marking System

Supports trays, conveyors, scanners, code input and repeated marking for electronics production lines.

Project Planning

Share these details to get an electronics laser recommendation

Because electronics products use many materials, sample information helps us recommend laser type, lens, fixture, marking field and automation layout more accurately.

Part and Marking Details

Part type PCB, plastic housing, connector, cable, sensor, chip, nameplate, enclosure or adapter.
Material PCB substrate, ABS, PC, PA, aluminum, stainless steel, coated metal, cable jacket or label.
Mark content QR code, Data Matrix, serial number, batch number, model text, logo or compliance mark.
Target result High contrast, subtle logo, deep engraving, clean color change or scanner-readable code.

Production and Integration Details

Marking area Flat, curved, tiny, recessed, glossy, matte, coated or heat-sensitive surface.
Batch volume Prototype, small batch, daily production, tray-based workflow or conveyor line.
Verification Barcode scanner, vision system, code grading, data logging or manual inspection.
Operation setup Desktop workstation, fixture, rotary device, tray loading, conveyor or automated cell.
Sample Test

Test your real electronic parts before selecting the laser system.

Send your PCB, plastic housing, metal enclosure, connector, cable sample, logo file or code requirement. We can compare contrast, readability, surface effect, cycle time and fixture options.

01

Share Part Details

Provide material, mark content, code size, surface finish, drawings and production volume.

02

Run Laser Test

Compare contrast, readability, surface effect, cycle time and scanner performance.

03

Confirm Setup

Choose laser type, lens, fixture, workstation, scanner and automation plan.

FAQ

Electronics laser solution questions

These answers help your team compare laser marking, cleaning and automation options for electronics production.

Can laser marking create QR codes on PCB?
Yes. Laser marking can create compact QR codes, Data Matrix codes and batch IDs on many PCB-related surfaces. The best laser source depends on the board material, coating and required contrast.
Which laser is better for plastic electronic housings?
UV and CO2 lasers are often tested for plastic parts, but the best choice depends on polymer type, color, additives and target mark effect. A sample test is recommended before production.
Can metal electronic enclosures be laser marked?
Yes. Fiber and MOPA laser markers can mark aluminum, stainless steel, coated metal and nameplates with logos, serial numbers, QR codes and product information.
Can Oceanplayer support automated electronics marking?
Yes. Automated marking systems can be configured with trays, conveyors, fixtures, scanners, data input and code verification depending on the part and production workflow.
Can laser marking be used on cables or connectors?
Some cable jackets, connectors and terminals can be laser marked depending on material and target contrast. Testing is needed to confirm readability and surface effect.
What information is needed for an electronics sample test?
Please share material, surface finish, code type, mark size, part photos, production volume and readability requirement. Physical samples help us recommend the laser source and fixture setup more accurately.