oceanplayer

Oceanplayer Industrial Laser Equipment | Cleaning, Welding, Marking, Automation Sample Testing | Global Shipping | OEM/ODM Support
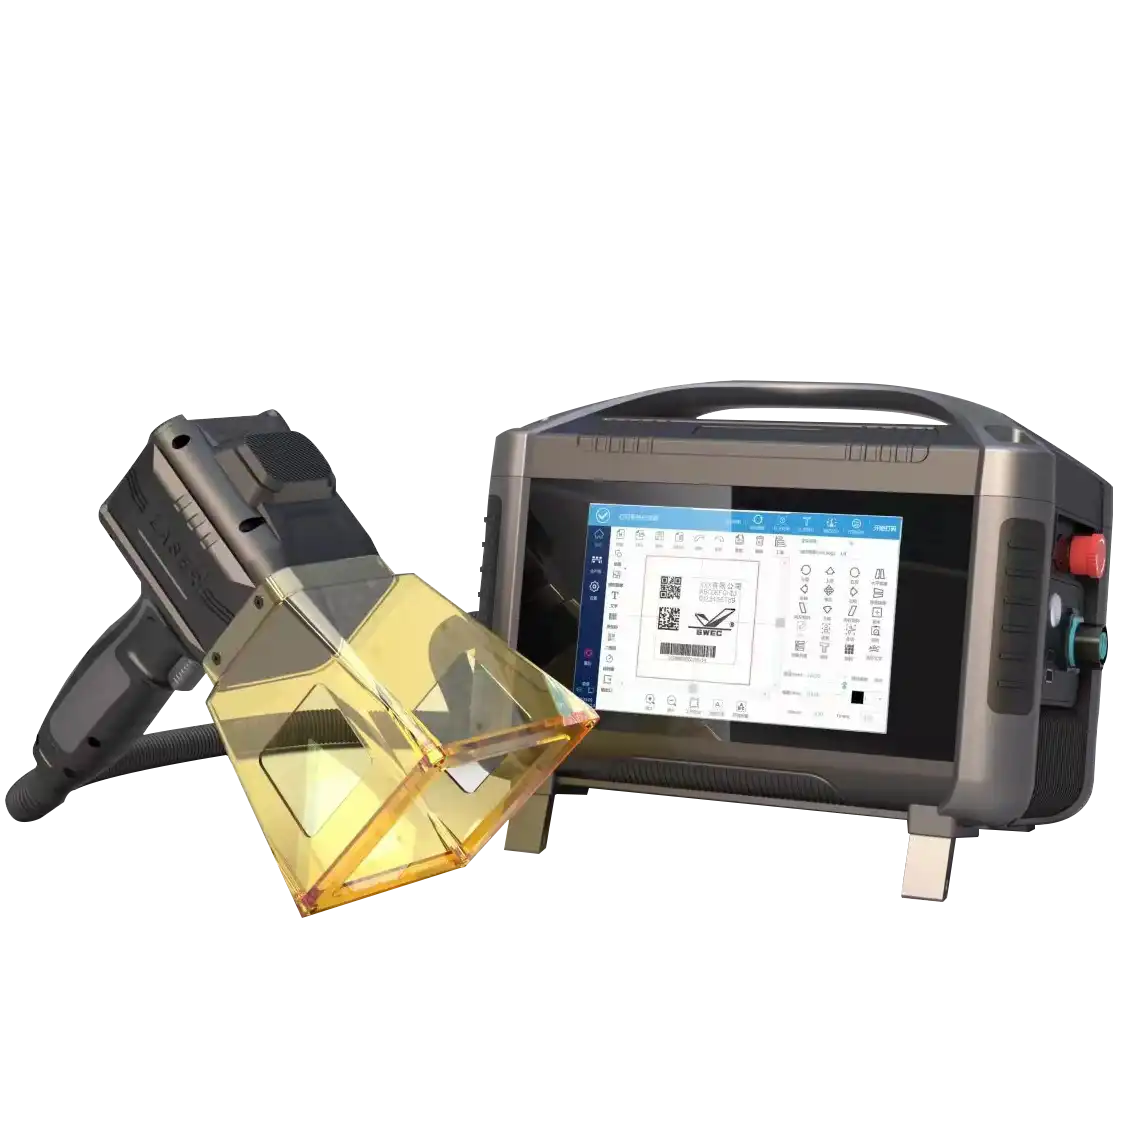
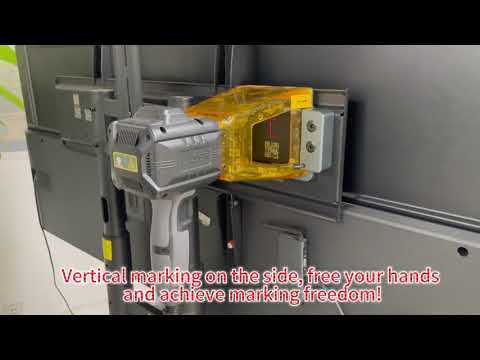
Oceanplayer industrial laser marking machines for product identification and traceability
Industrial Laser Marking Systems

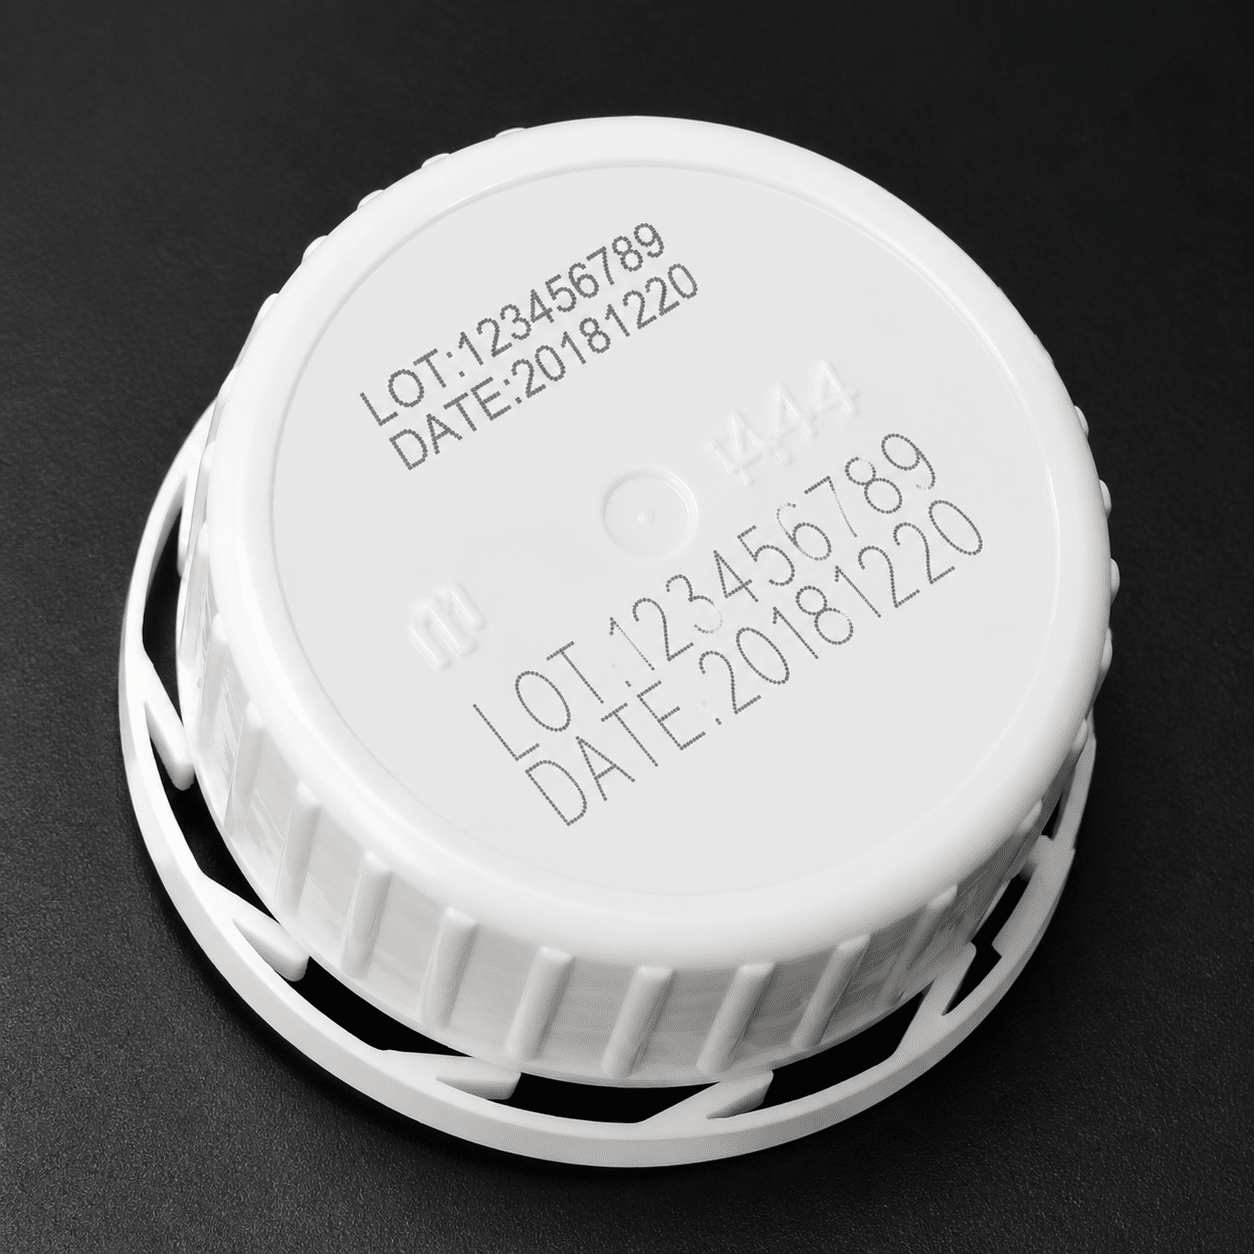
Laser Marking Machines for Permanent Product Identification and Traceability.

Choose Fiber, MOPA, UV, CO2 or automated laser marking equipment for logos, serial numbers, QR codes, barcodes, Data Matrix codes, nameplates and product data. Oceanplayer helps match the laser source, power, lens, fixture and workflow to your material and final mark.

  • Metal, plastic and packaging materials
  • Manual stations and automated lines
  • Sample marking test available
Fiber & MOPAMetal and selected plastic marking
UV & CO2Fine and organic material marking
QR / Serial / LogoPermanent product identification
Station to InlineManual and automated workflows
Start With the Mark

Choose technology around the result your product requires

The right laser source depends on material absorption, contrast, marking depth, heat sensitivity, code size, production speed and how the part is positioned.

01

High-contrast identification

Create readable logos, serial numbers and product data on metal and selected plastics.

02

Controlled surface effect

Use adjustable pulse characteristics for black marks, fine plastic marking or selected stainless colors.

03

Fine low-heat marking

Protect heat-sensitive plastics, glass and precision components with a suitable UV process.

04

Fast organic material marking

Mark paper, wood, leather, coated materials and packaging with a suitable CO2 system.

Technology Matrix

Match the laser source to material and marking effect

Machine type should be selected from sample results, not only from wattage. Contrast, depth, heat input and cycle time all matter.

Laser TypeCommon Material FitTypical ResultWhat to Confirm
FiberSteel, stainless steel, aluminum, brass and selected plasticsLogos, serial numbers, QR codes and metal engravingContrast, depth, speed and marking area
MOPAStainless steel, anodized aluminum and selected plasticsControlled black marks, fine plastic effects and selected colorsPulse settings, surface finish and repeatability
UVHeat-sensitive plastics, glass, coatings and precision partsFine low-heat codes and detailed product marksMaterial reaction, edge quality and cycle time
CO2Wood, leather, paper, acrylic, selected glass and packagingSurface marking, coding and engraving on organic materialsWavelength, coating, marking depth and extraction
Automated SystemRepeated parts, mixed models and production linesVariable data, aligned codes and traceability workflowsLoading, positioning, data connection and code verification
Marking Results

Create the right information for identification and traceability

Mark content, size, depth and contrast should be planned around readability, product life and production data.

Machine Readable

QR & Data Matrix Codes

Fine-edged codes for product lookup, service history and manufacturing traceability.

Product Identity

Serial & Batch Numbers

Variable identification for parts, assemblies, warranty and quality records.

Commercial Finish

Logos & Graphics

Permanent product branding without ink, labels or screen-printing plates.

Durable Depth

Deep Metal Engraving

Recessed marks for tools, molds, nameplates and parts exposed to wear.

High Contrast

Black & Annealed Marks

Controlled surface effects for visible stainless products and precision codes.

Production Data

Dates, Models & Live Codes

Automatically generated content connected to orders, batches or line signals.

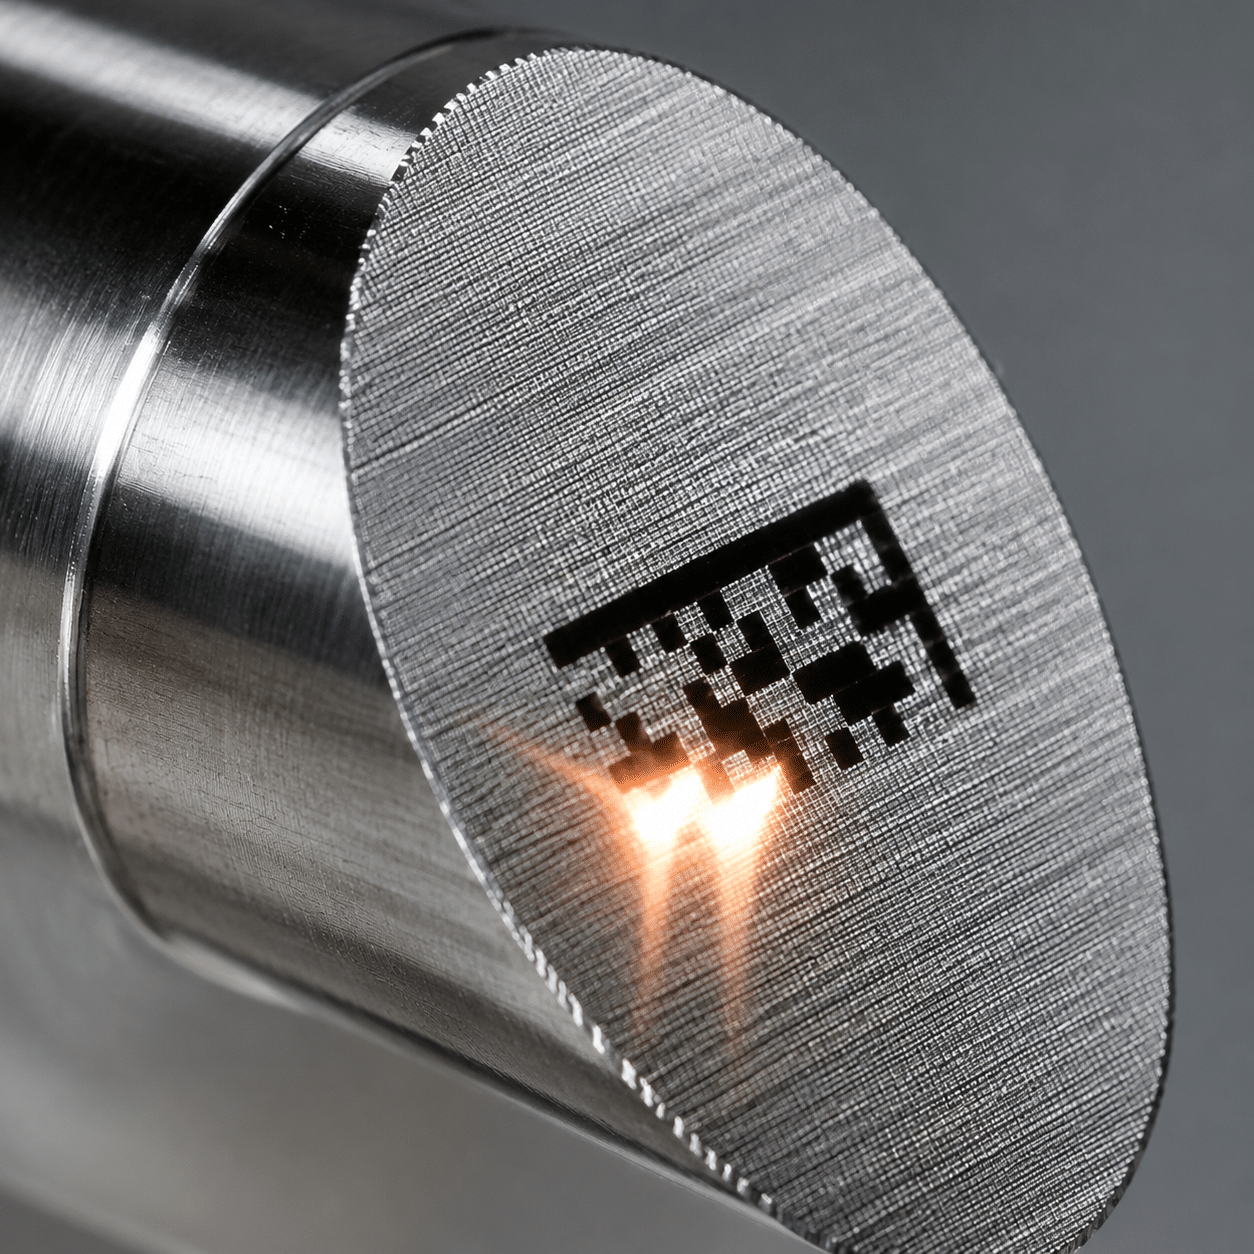
Marking Gallery

Inspect contrast, detail and readability across real product marks

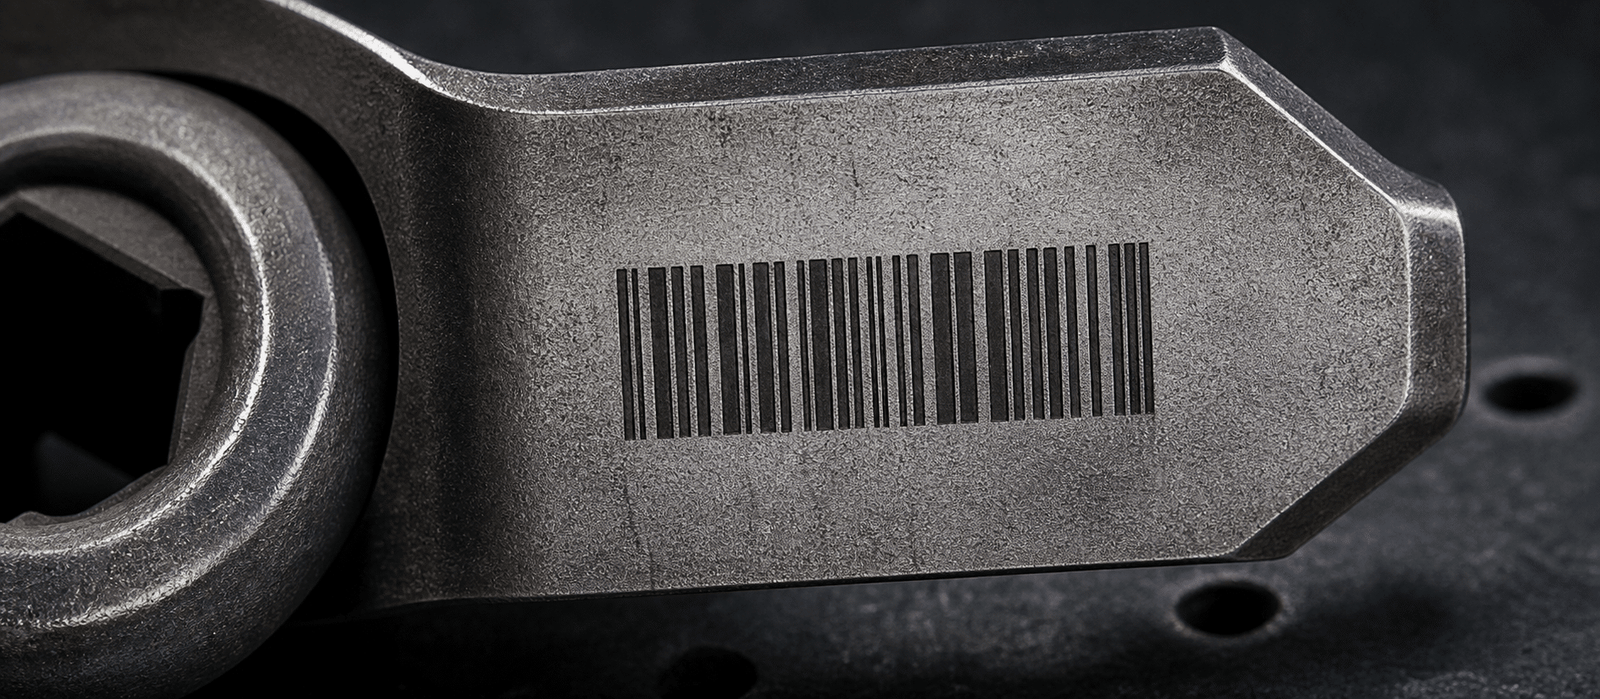
Result images help compare code edges, character clarity, surface effect and branding quality before machine selection.
Machine Configuration

Build the machine around part size and production flow

The final system combines the laser source with optics, motion, positioning, software and protection required by the application.

Power & Laser Source

Match wavelength, pulse behavior and power to material, contrast, depth and speed.

Lens & Marking Area

Balance field size, spot size and detail for the dimensions of the actual mark.

Fixture & Rotary Axis

Hold flat, irregular or cylindrical parts in a stable position for consistent results.

Vision & Data Connection

Use cameras, sensors, PLC signals or databases for aligned and variable marking.

Production Traceability

Connect marking with the complete product data workflow

A reliable traceability system controls the information, position, mark quality and records surrounding every part.

Step 01

Receive Data

Import serial, batch, model or order information.

Step 02

Locate Part

Use fixtures, sensors or vision to establish position.

Step 03

Apply Mark

Mark the correct content with the approved recipe.

Step 04

Verify Code

Check contrast, position and scanner readability.

Step 05

Store Record

Return status to the line or traceability database.

Laser marked code quality inspection and scanner verification
Quality Before Speed

A fast mark only helps when it remains clear and readable

Marking quality should be evaluated under the lighting, scanning distance, handling and service conditions that the product will experience.

  • Check contrast and edge definition on the actual surface finish
  • Confirm QR, barcode or Data Matrix readability with the intended scanner
  • Test abrasion, chemicals or heat when product life requires it
  • Control focus, fixture position and part variation across the batch
  • Record approved recipes for repeated production
Sample Marking Test

Confirm contrast, depth and readability on your product.

A sample test helps compare Fiber, MOPA, UV and CO2 results and identify the laser source, power, lens and settings that fit your material.

Step 01

Share the Product

Send material, surface finish, mark size, content and target result.

Step 02

Run Marking Tests

Compare suitable laser sources, power, speed and focal settings.

Step 03

Review the Result

Check photos, video, contrast, depth and scanner readability.

Factory Support

Move from sample marking to a complete production setup

Oceanplayer supports laser selection, application testing, accessories, automation planning, packing and remote startup guidance.

  • Fiber, MOPA, UV and CO2 source selection
  • Power, lens, marking area and focal setup planning
  • Rotary, fixture, vision, conveyor and enclosure options
  • Software, variable data and production signal discussion
  • Export packing, operation guidance and after-sales communication
Sample MarkingOEM / ODMAutomationRemote Guidance
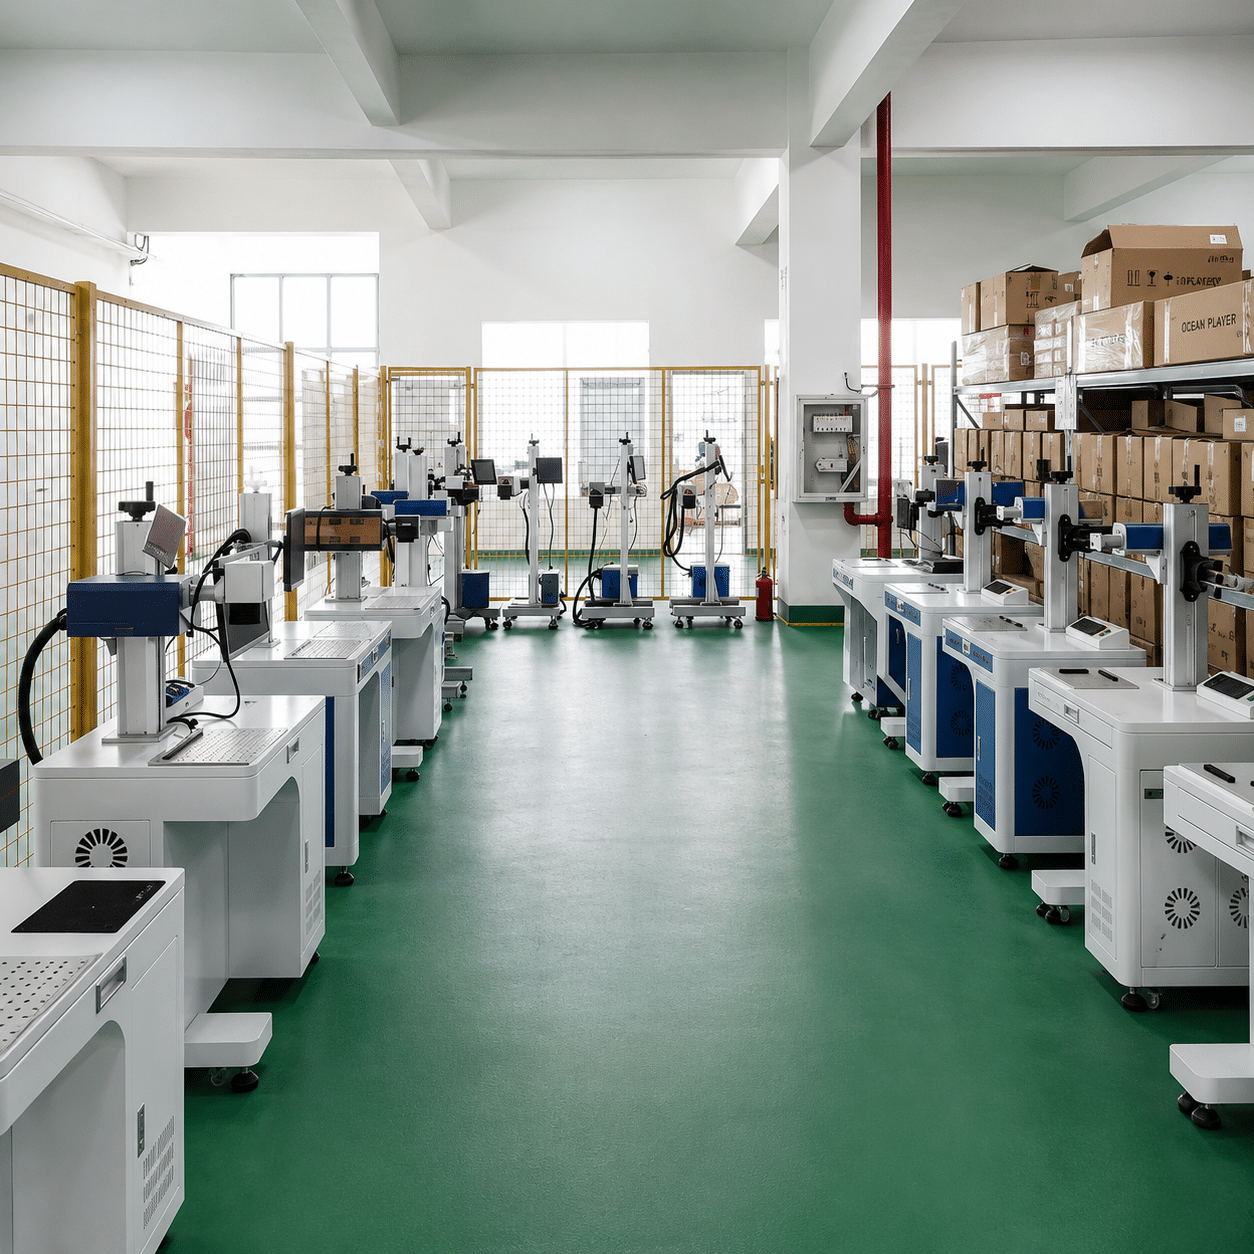
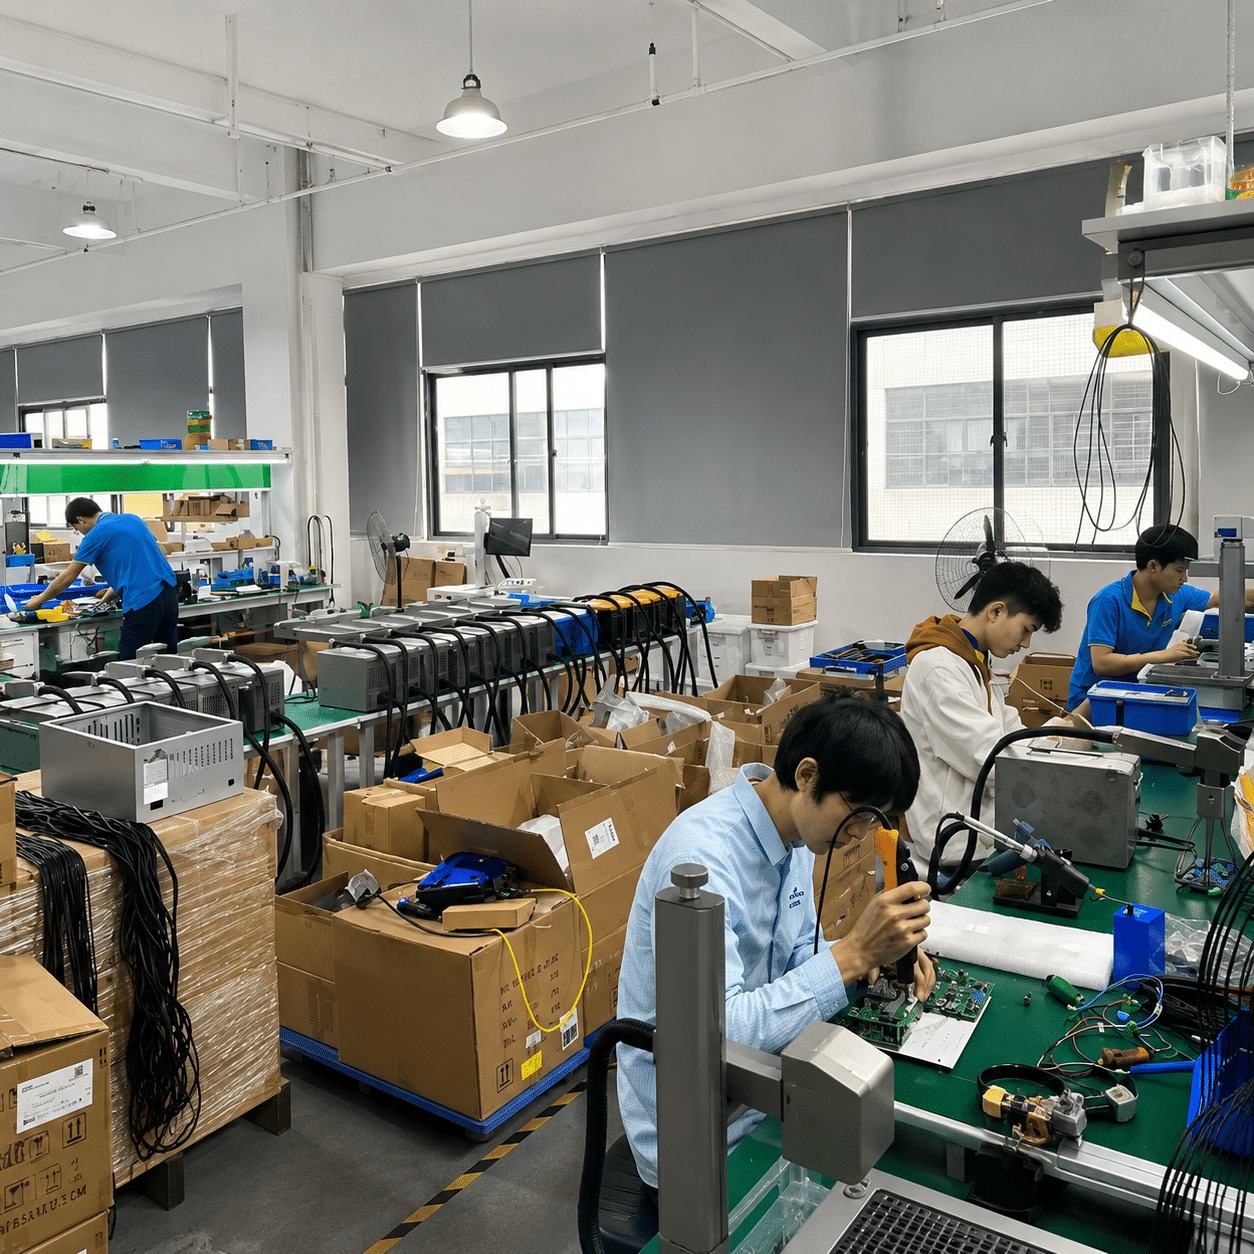
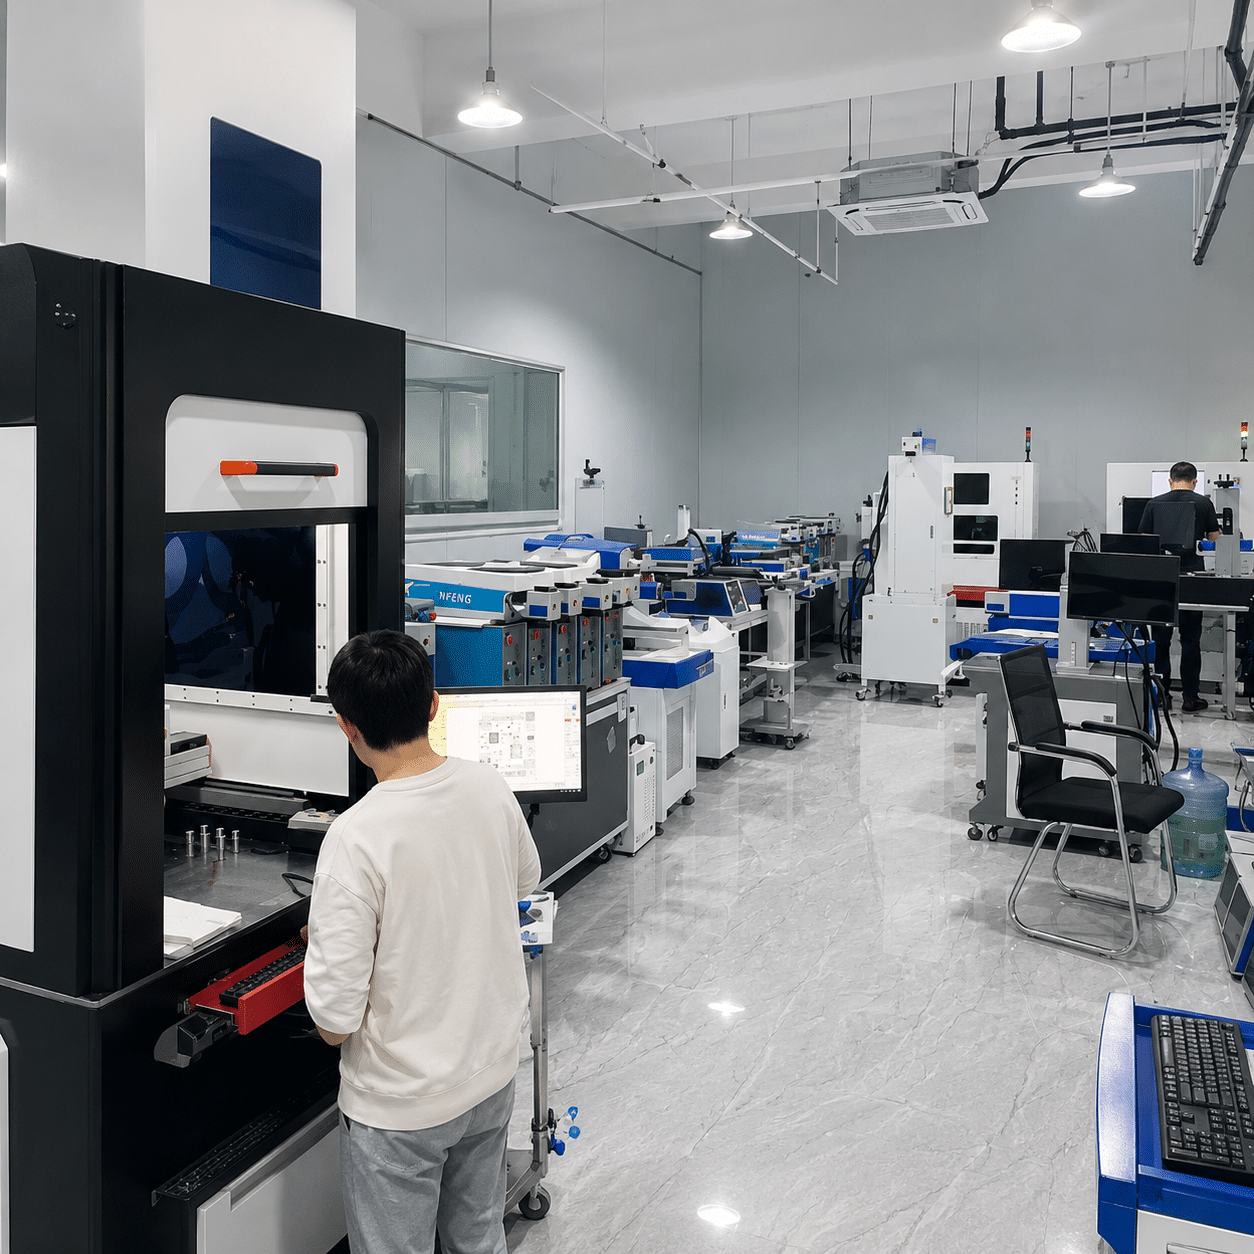
Oceanplayer laser marking machine factory assembly and testing
Laser marking sample quality testingLaser marking machine export packing
Frequently Asked Questions

Laser Marking Machine FAQ

Practical answers about laser types, materials, power, marking results and automation.

What is a laser marking machine used for?
A laser marking machine creates permanent text, logos, serial numbers, QR codes, barcodes, Data Matrix codes and product information directly on a material surface. Systems may be manual, rotary, vision-positioned or integrated into a production line.
Which laser marking machine should I choose?
Fiber is commonly used for metals, MOPA for controlled pulse effects on stainless steel and selected plastics, UV for fine low-heat marking, and CO2 for many organic or packaging materials. The actual material and required mark should be tested before selection.
What is the difference between Fiber and MOPA marking?
Both commonly use a fiber-based system, but MOPA provides a wider adjustable pulse-width range. This gives more control for selected plastic marking, black marks on stainless steel, anodized aluminum and selected color effects.
Can a laser marker create QR codes and serial numbers?
Yes. Laser marking can create fixed or variable QR codes, barcodes, serial numbers, dates, batch codes and product IDs. Code size, contrast, surface finish and scanner requirements should be confirmed through testing.
How do I choose 20W, 30W or 50W fiber marking power?
20W is suitable for many general surface marks, 30W can improve speed and daily flexibility, and 50W is often selected for faster cycles or deeper engraving. Material, depth, marking area and production rate should be reviewed together.
What marking area can the machine cover?
Marking area depends on the installed lens and scanner configuration. A larger field can cover bigger graphics, while a smaller field can support a finer spot and more detail. Select the lens around the largest mark and smallest required feature.
Can laser marking connect to a conveyor, PLC or database?
Yes. Automated systems can be planned with conveyors, sensors, rotary axes, vision cameras, PLC signals, barcode readers and variable-data connections according to the production workflow.
Can Oceanplayer test my product before I order?
Yes. Send the material, surface finish, marking content, required size, target effect and production needs. Oceanplayer can evaluate suitable laser technologies and provide sample photos or video with a recommended configuration.