oceanplayer

Oceanplayer Laser Equipment | Cleaning, Welding, Marking, Automation Sample Testing | Global Shipping | OEM/ODM Support
Sample Testing

Test your material before choosing a laser machine

Send your parts, photos or application details. Oceanplayer can test cleaning, welding or marking results so you can choose a machine with clearer evidence.
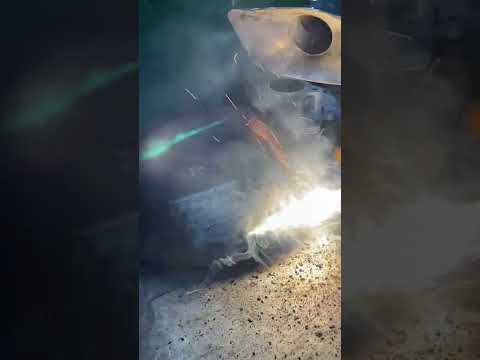
  • Laser cleaning test
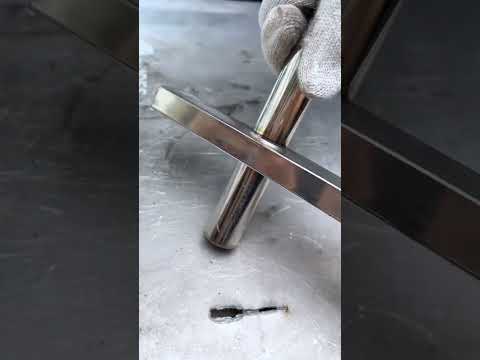
  • Laser welding test
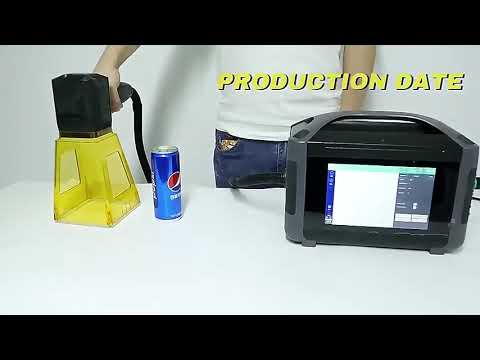
  • Laser marking test
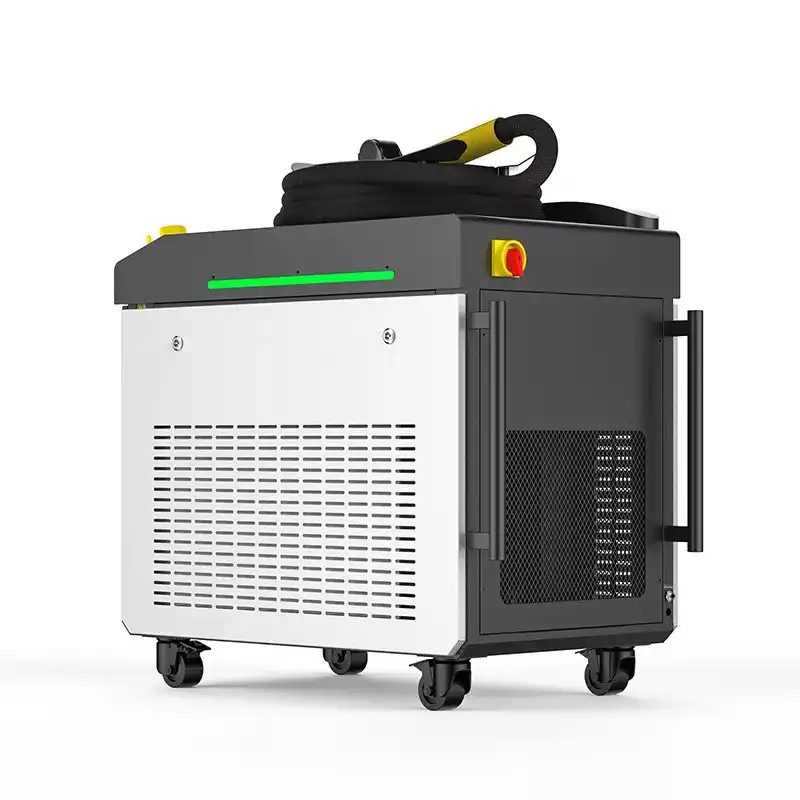
Oceanplayer laser machine sample testing for cleaning welding and marking
Test first Confirm the result before final configuration
3Laser processes
1Material-based test plan
ClearResult comparison
Cleaning ResultCheck rust, paint, oxide and coating removal.
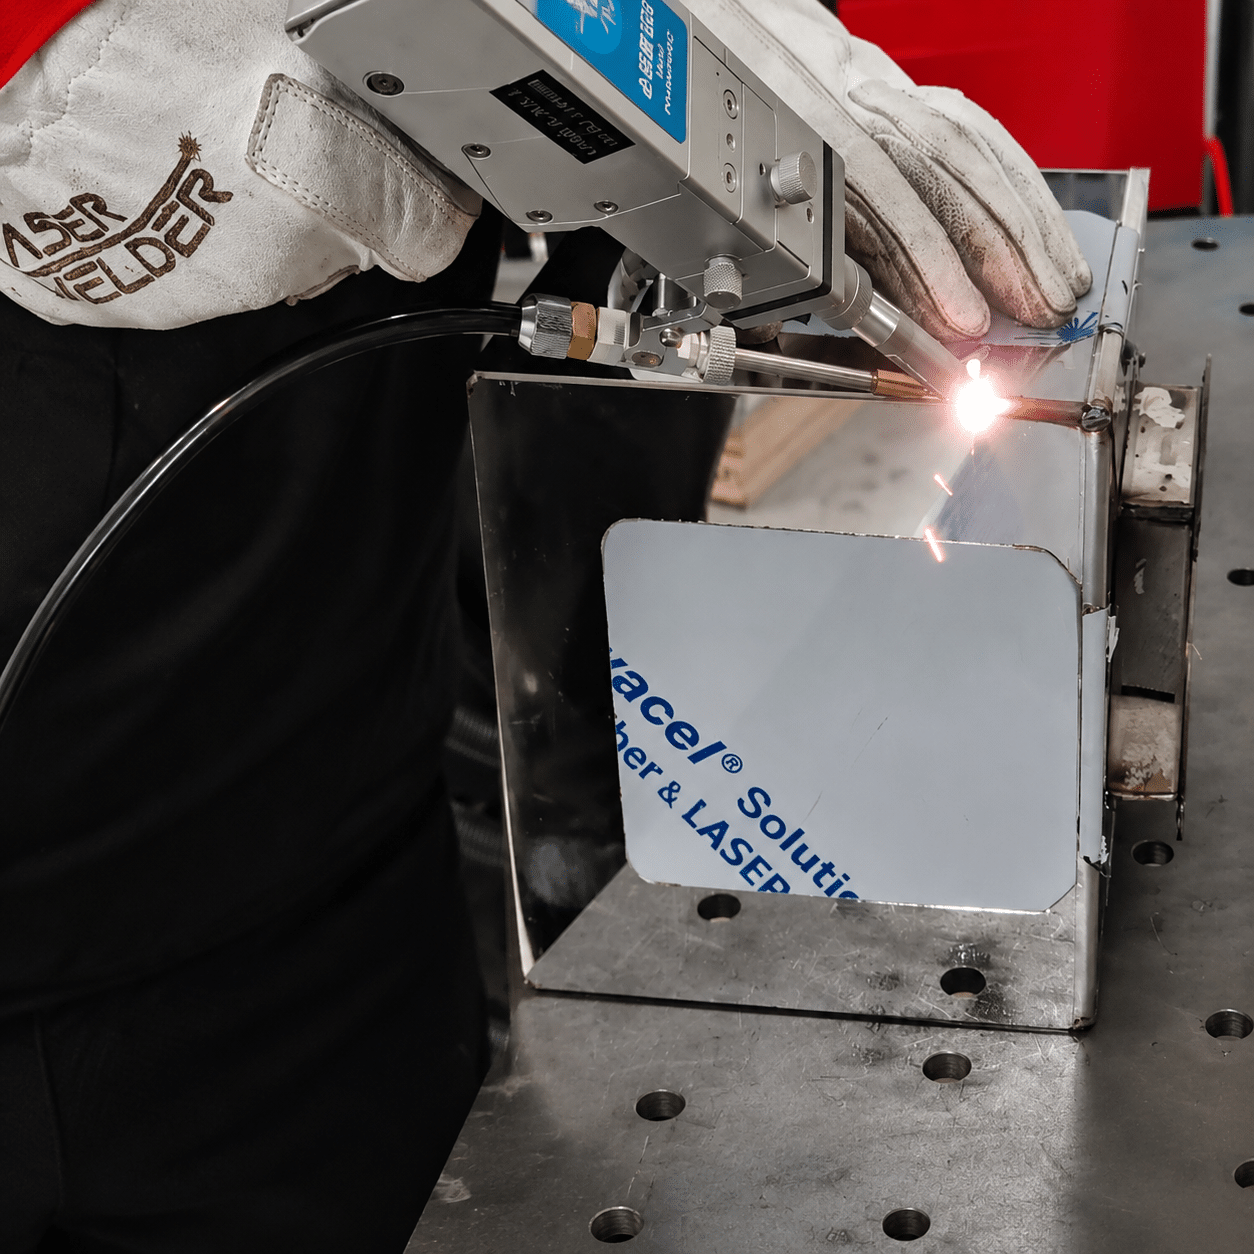
Welding QualityReview seam appearance, penetration and heat effect.
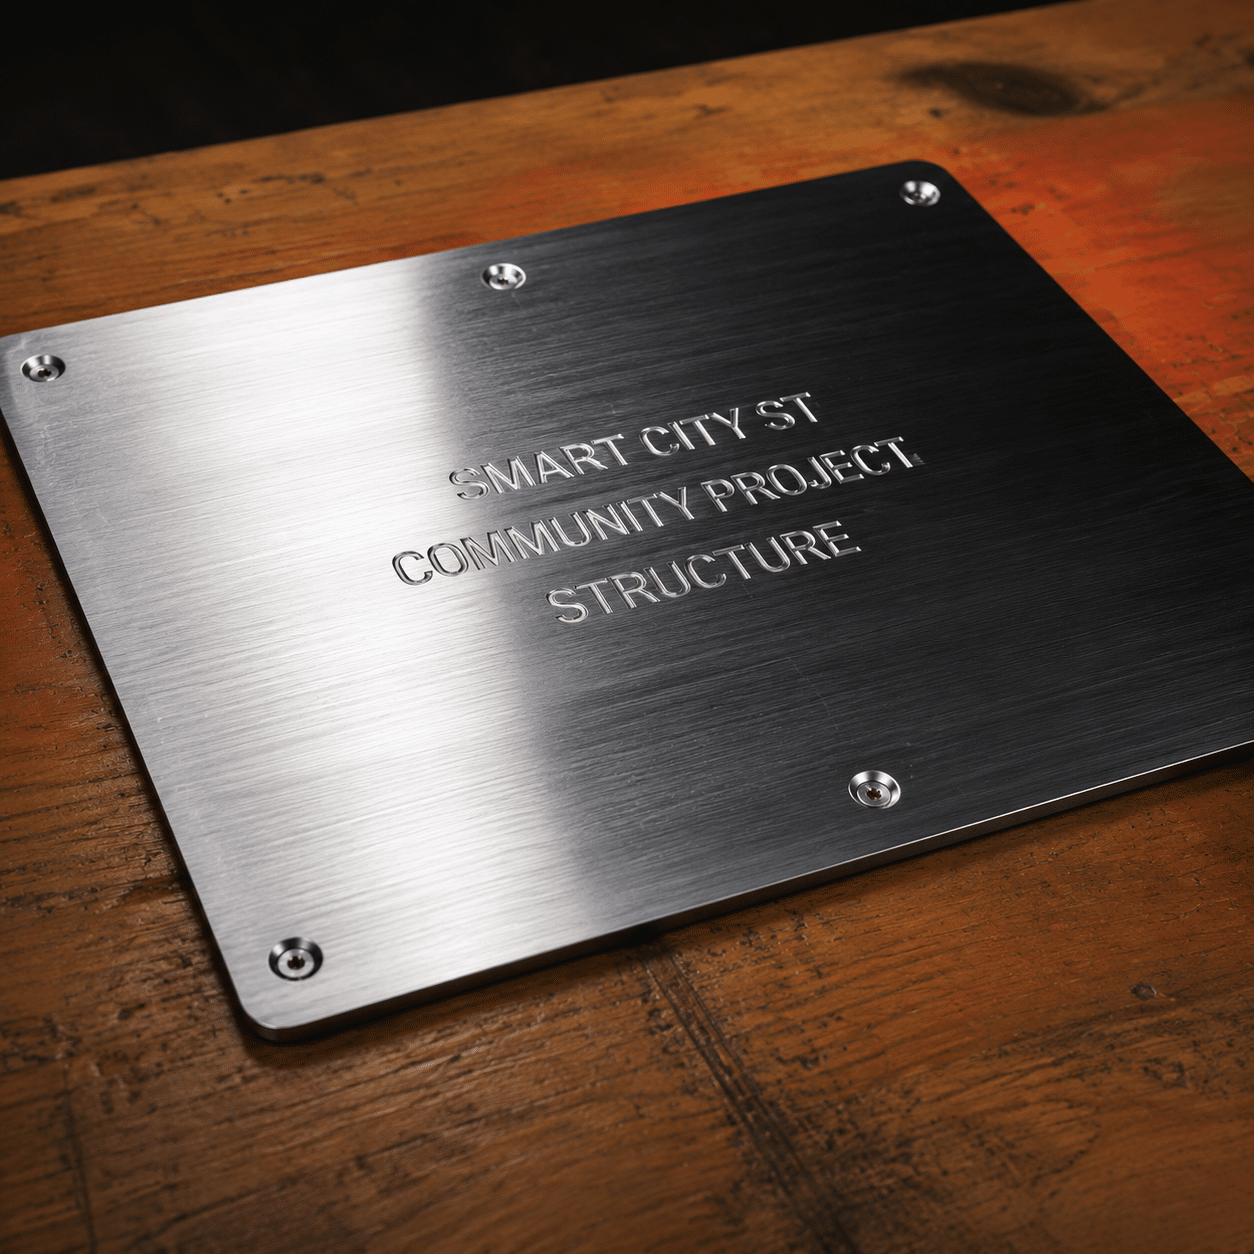
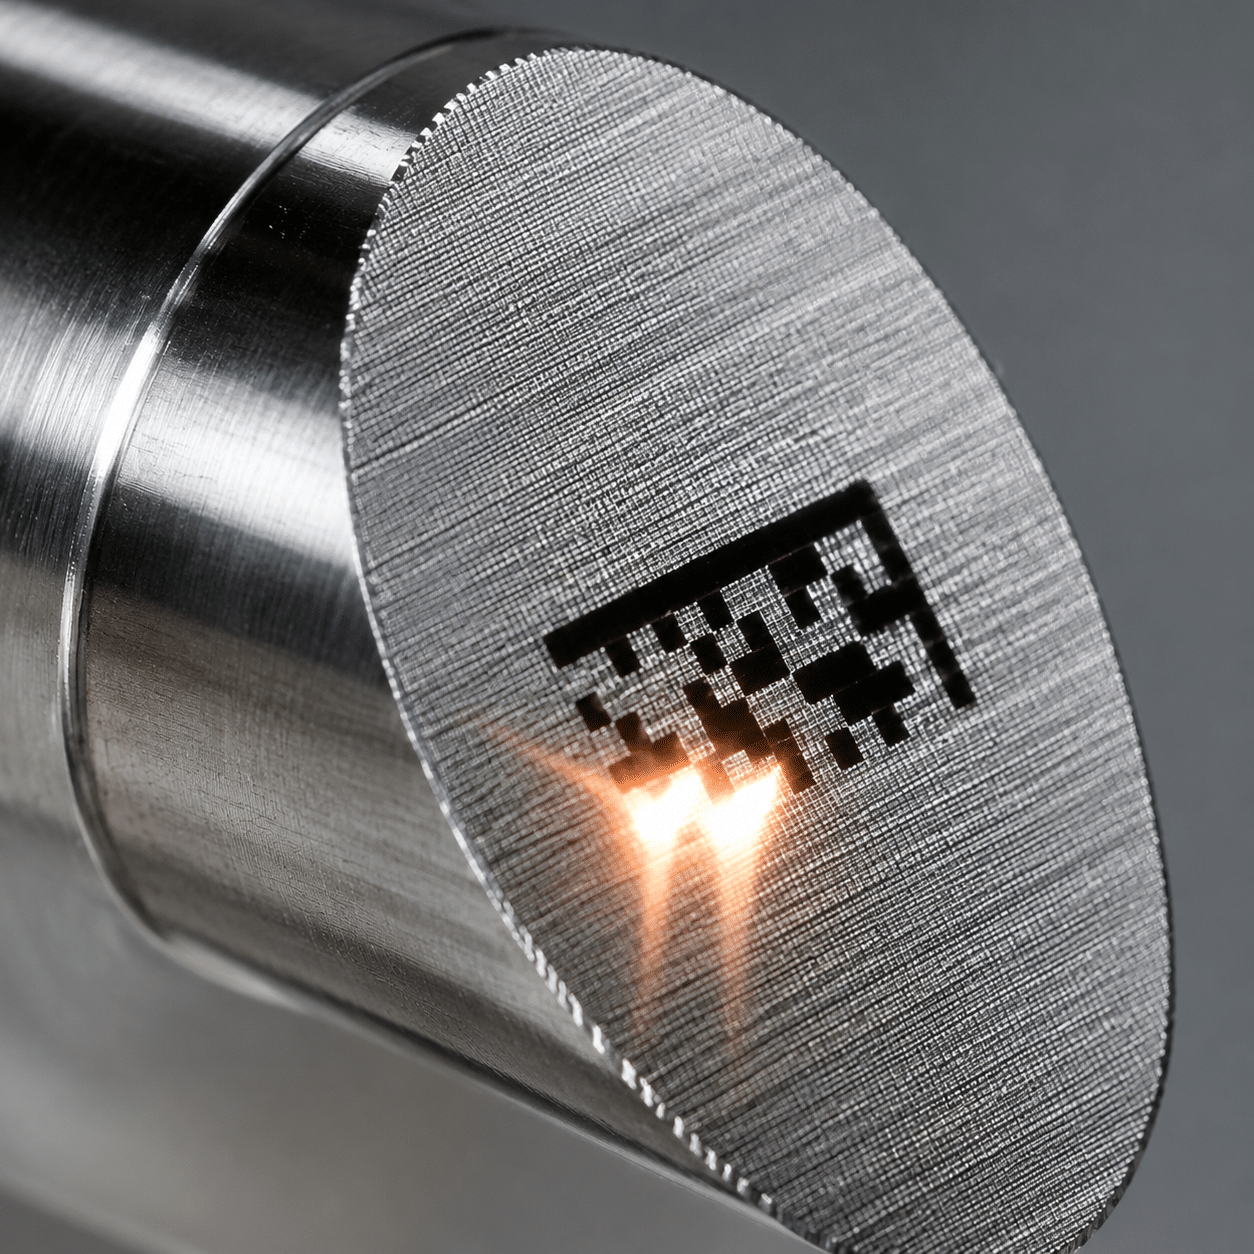
Marking ContrastConfirm code readability, depth and durability.
Machine FitCompare power, accessories and workflow needs.
Why Test First

Sample testing helps confirm the result on your actual material

Laser performance changes with material grade, surface finish, coating thickness, contamination, weld joint design and marking contrast requirements.

Result Proof

See the surface, seam or mark before ordering

A test helps confirm whether the laser process can deliver the finish, strength or code readability needed for your project.

  • Before and after cleaning comparison
  • Weld appearance and heat-affected area
  • Mark contrast, depth and readability
Configuration

Choose power and accessories with more confidence

Testing helps compare laser source, lens, cleaning width, wire feeder, rotary device, fixture or automation requirement.

  • Power level and processing speed
  • Cooling method and duty requirement
  • Fixture, safety and handling needs
Risk Reduction

Reduce uncertainty before production investment

Actual sample results make it easier to compare different machine types, estimate cycle time and plan the production workflow.

  • Check material reaction early
  • Compare manual and automated options
  • Support internal project approval
Testing Process

How the Oceanplayer sample testing process works

From application review to result feedback, the process is designed to make machine selection clearer and easier.

Step 01

Share your application

Send material, photos, surface condition, part size, weld joint or marking requirement.

Step 02

Confirm test direction

Oceanplayer reviews the goal and selects a suitable cleaning, welding or marking test method.

Step 03

Run the sample test

The test compares key parameters such as speed, power, surface quality, seam result or code contrast.

Step 04

Review the result

You receive result photos, practical feedback and a recommended machine configuration.

What information helps create a better test result?

The more accurate the part details are, the easier it is to test the right machine type, power level and process settings.
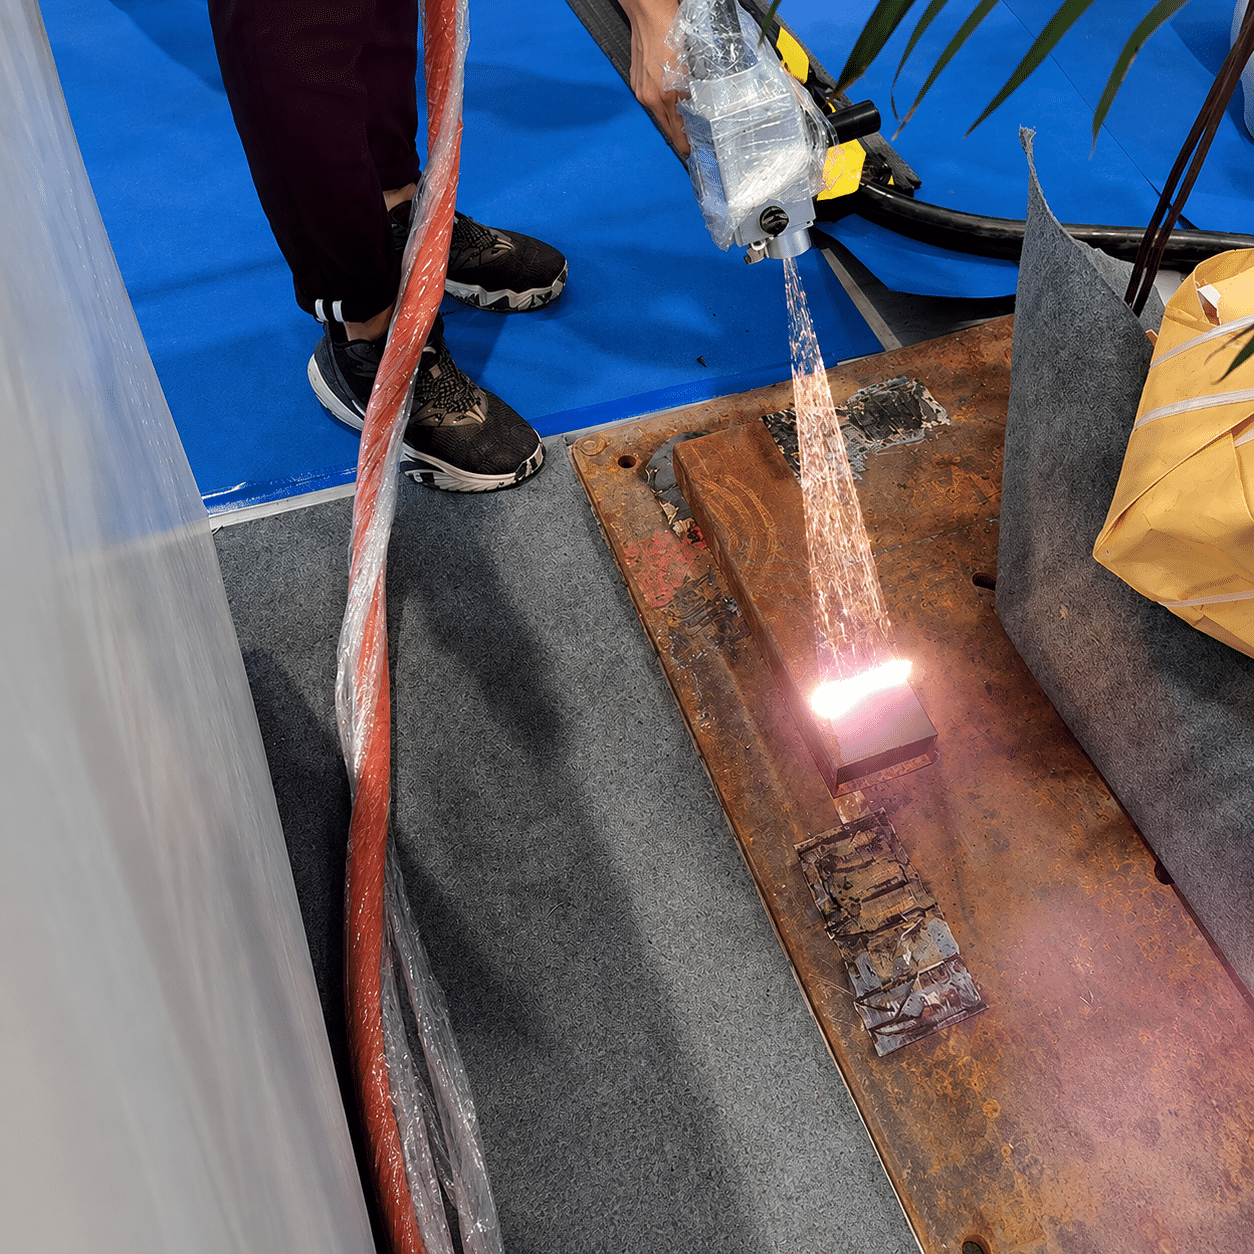
MaterialSteel, stainless steel, aluminum, copper, plastic, coating or mixed material.
SurfaceRust thickness, paint layer, oxide, oil, weld discoloration or product finish.
Target ResultCleanliness, weld seam appearance, marking contrast, depth or code readability.
Production NeedPart size, daily quantity, cycle time, manual operation or automation plan.
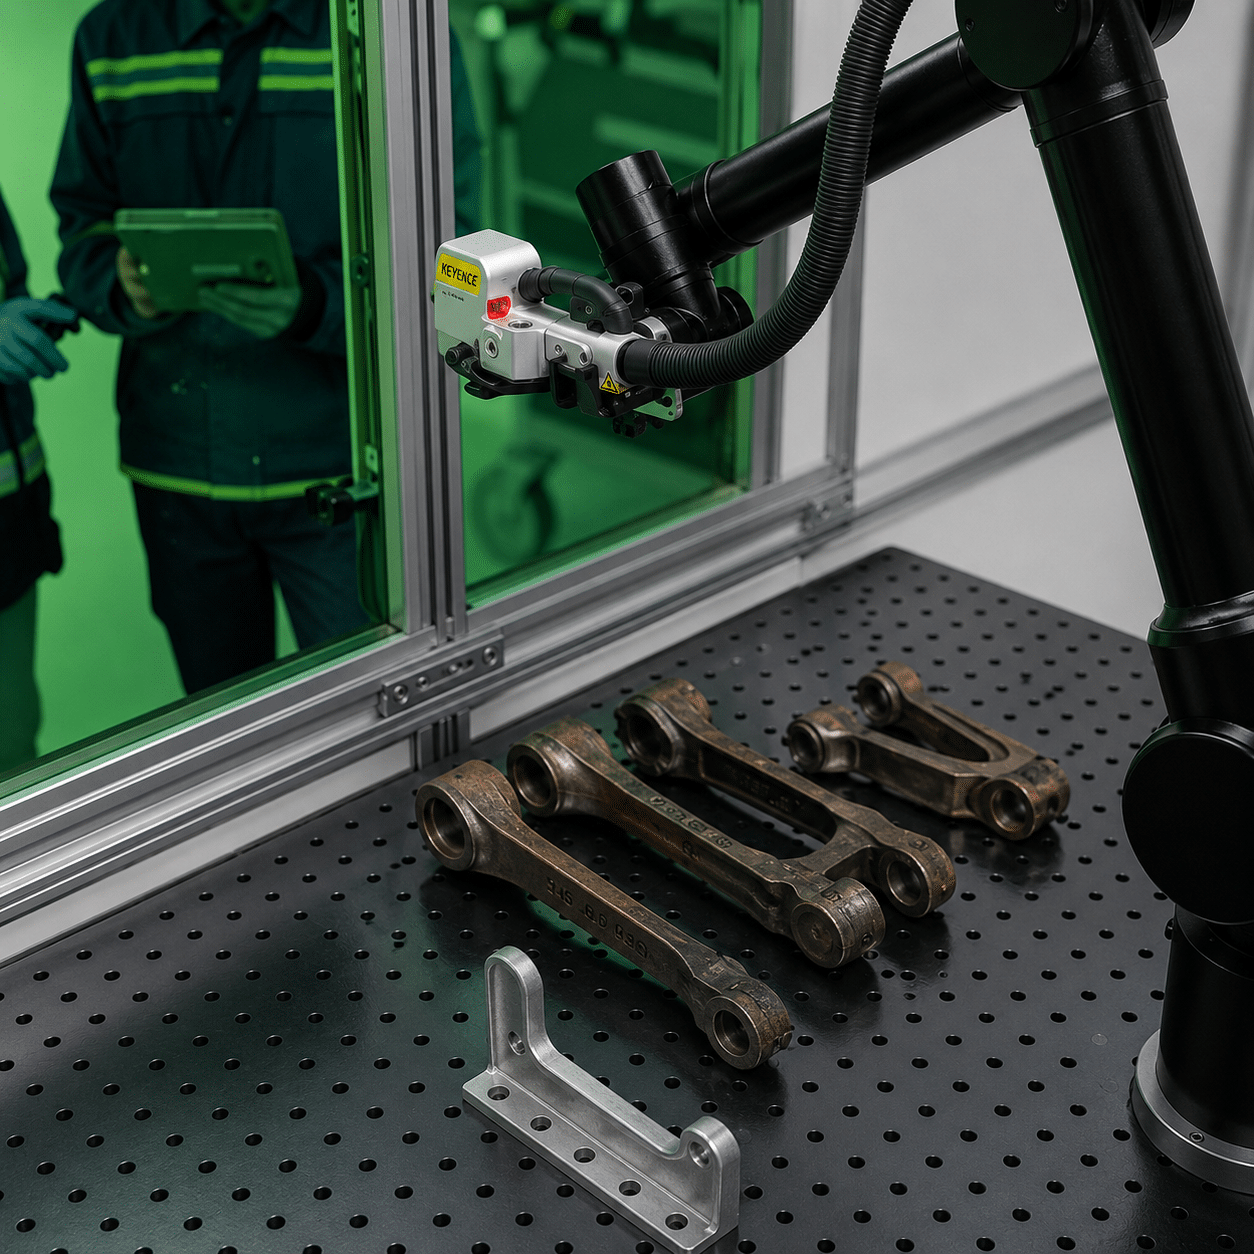
sample parts prepared for laser testing
Testing Options

Sample testing for cleaning, welding and laser marking projects

Choose the test path based on the process you need to verify.

Test Type What Can Be Checked Common Materials Useful Result
Laser Cleaning TestRust removal, paint stripping, oxide removal, oil cleaning and pre-weld surface preparationSteel, stainless steel, aluminum, molds, coated parts and machinery surfacesBefore and after result, cleaning speed, heat effect and recommended cleaner type
Laser Welding TestWeld appearance, penetration, deformation, wire feeding and joint stabilityStainless steel, carbon steel, aluminum, galvanized steel and sheet metalWeld seam result, suitable power, cooling method and accessory recommendation
Laser Marking TestLogo, serial number, QR code, barcode, depth, contrast and readabilityMetal, stainless steel, aluminum, selected plastics, packaging and electronic partsMarking sample, laser type selection, parameter direction and code quality feedback
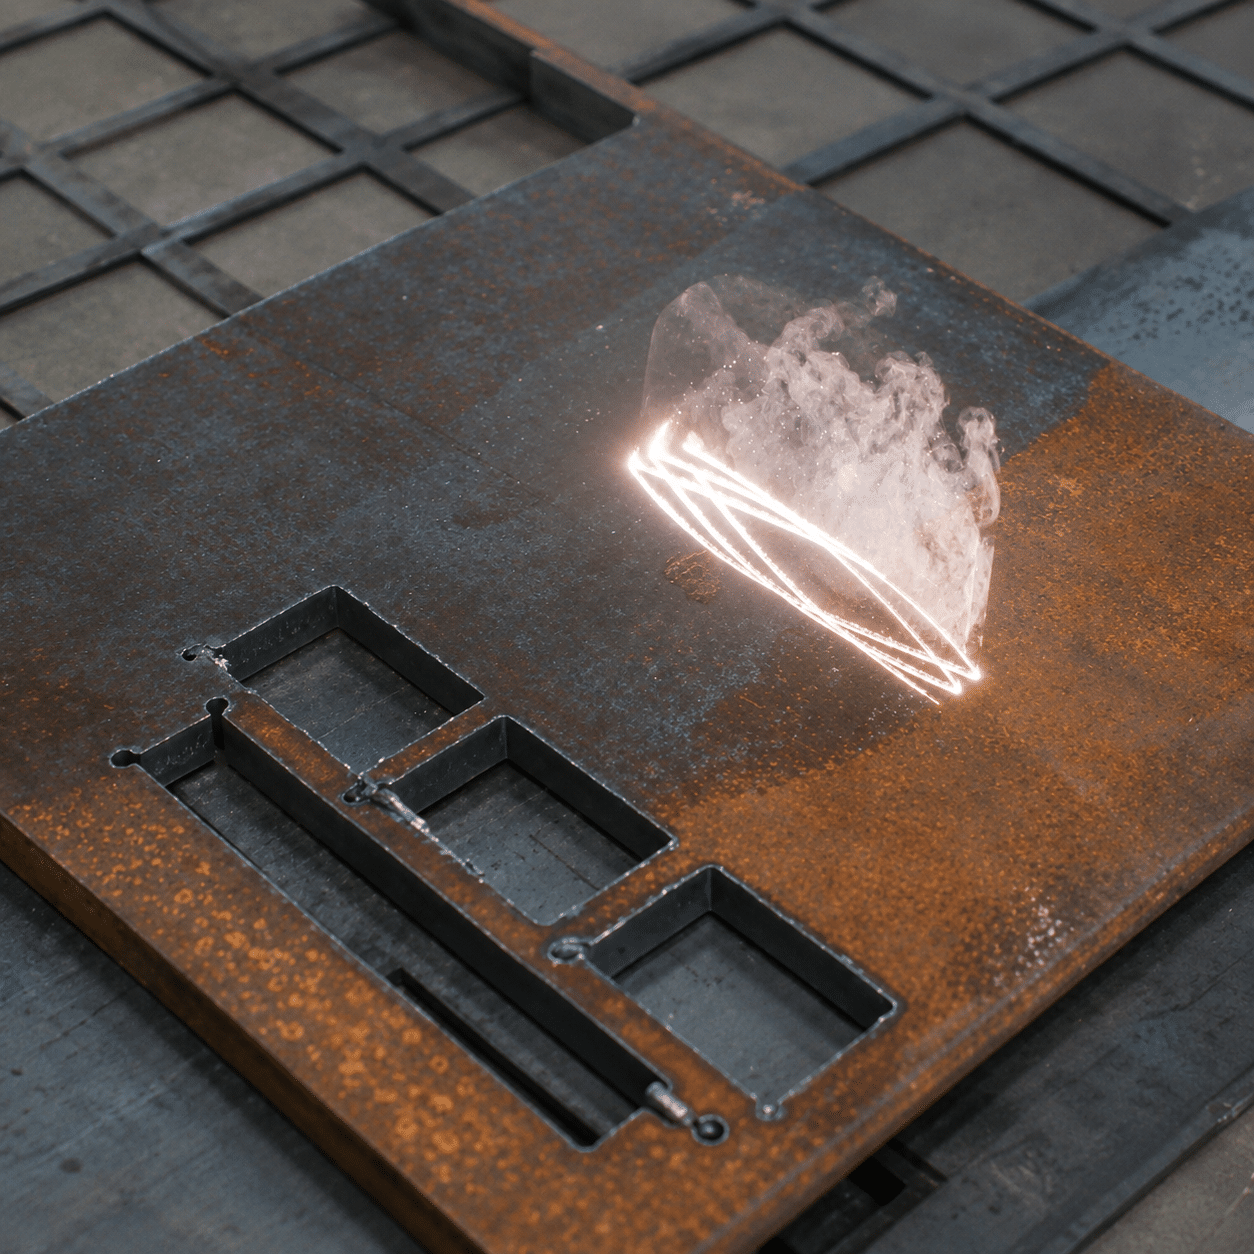
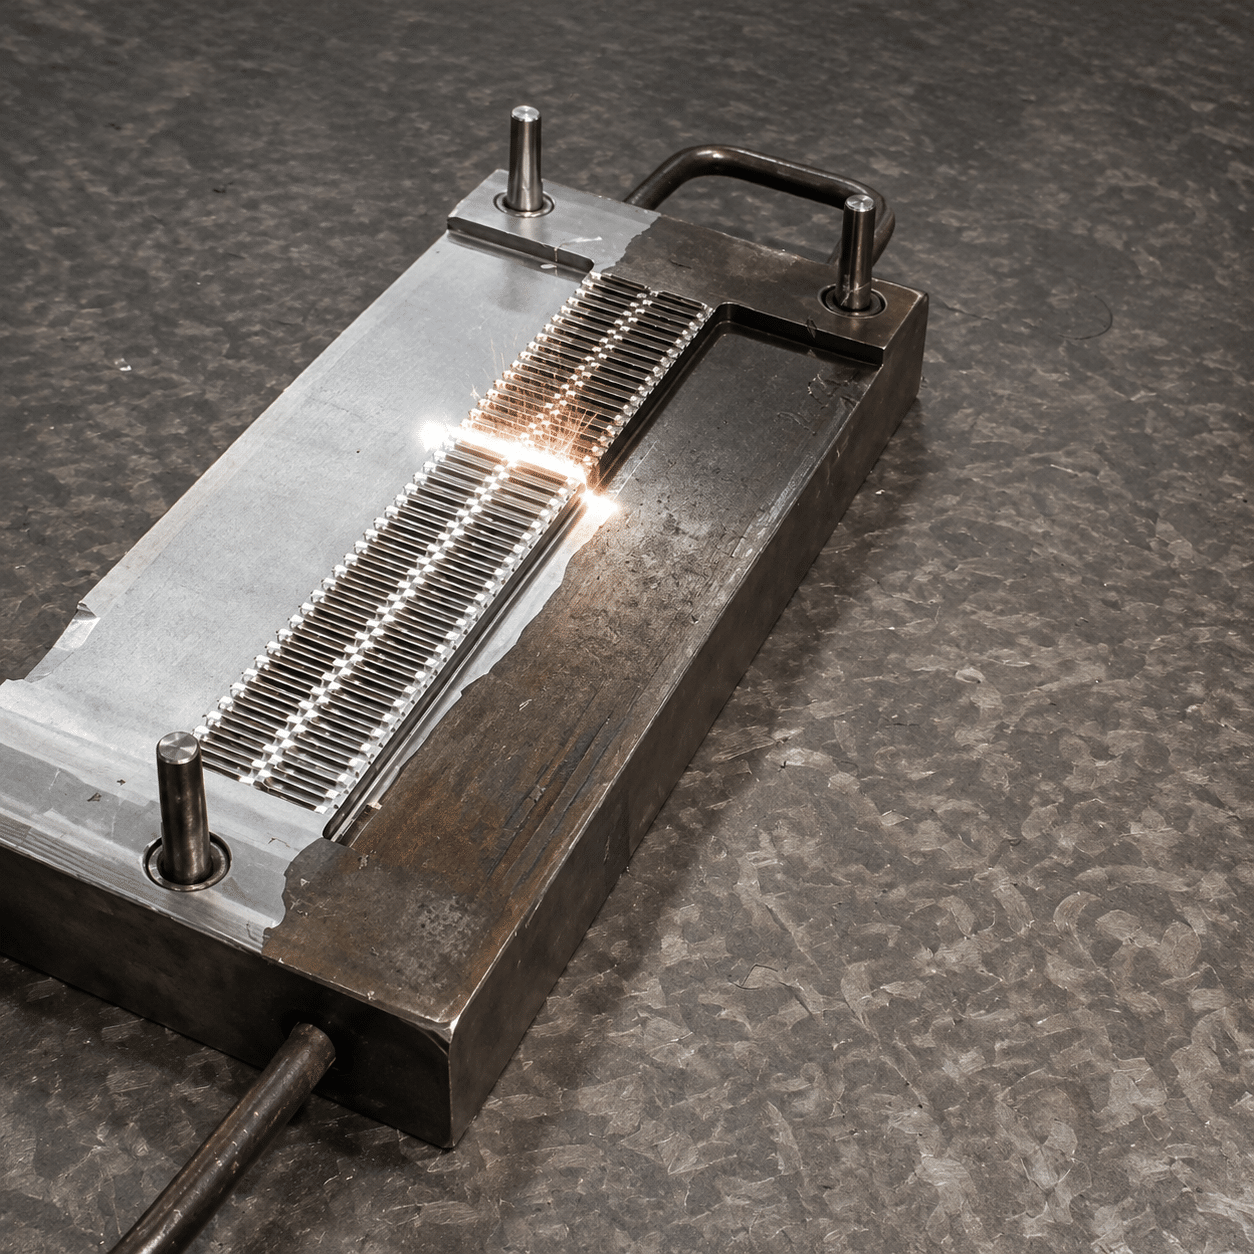
Testing Results

Show clear before-and-after results and machine selection evidence

Visual test results help your team compare the surface finish, weld seam, mark contrast and production suitability.
Preparation Checklist

Prepare samples and project details for a more useful test

A clear sample and process goal make the final recommendation more accurate.

1

Send actual material when possible

Actual material gives a more reliable result than a similar substitute, especially for coatings, plastics and surface finishes.

2

Mark the target area

Identify the rust area, weld zone, logo position, QR code size or cleaning boundary that needs testing.

3

Share production expectations

Include daily quantity, part size, process time target, manual operation needs or automation plans.

4

Explain the acceptance standard

Describe the desired surface, seam, contrast, depth, readability or appearance requirement.

For physical samples, protect the surface that needs testing.

Pack samples so the test area is not scratched, contaminated or bent during shipping. If only photos are available, include close-up images and basic dimensions.

Recommendation Output

What you can receive after sample testing

The goal is not only to show a result, but also to help narrow machine type, power level and setup direction.

Result photos

Clear images of the tested surface, weld seam, code mark or comparison result.

Process direction

Suggested cleaning, welding or marking process with practical notes about result quality.

Machine configuration

Recommended machine type, power range, accessories, safety or automation considerations.

Start Sample Testing

Send your sample request and compare the result before purchasing.

Tell us your material, process target and expected result. Oceanplayer will help review the application and recommend a suitable test direction.

01

Describe the application

Share material, surface condition, part size, weld joint or marking requirement.

02

Review test feasibility

Confirm the suitable laser process and machine type for your sample.

03

Choose the machine

Use the result to compare power, accessories and final configuration.

Sample Testing FAQ

Common questions about laser sample testing

These answers explain what can be tested, what details are helpful and how sample testing supports machine selection.

What types of laser sample testing can Oceanplayer support?
Oceanplayer can review sample testing requests for laser cleaning, laser welding and laser marking applications, including rust removal, paint removal, oxide cleaning, metal welding, QR code marking, logo marking and serial number marking.
Do I need to send a physical sample?
A physical sample gives the most direct result, especially for coatings, rust, weld joints and material reaction. If a physical sample is not available, clear photos, videos, dimensions and material details can still help with an initial recommendation.
What information should I provide before testing?
Helpful details include material type, part size, surface condition, coating or contamination, desired cleaning result, weld joint type, marking size, contrast requirement, daily quantity and whether manual or automated operation is preferred.
Can sample testing help choose between pulsed and CW laser cleaning?
Yes. Testing can compare cleaning result, surface effect and processing speed, which helps decide whether a pulsed laser cleaner or CW laser cleaner is more suitable for the application.
Can sample testing help choose between fiber, MOPA, UV and CO2 marking?
Yes. Different materials react differently to each laser type. Testing helps compare contrast, depth, edge quality, readability and surface effect before choosing the marking machine.
Will I receive a machine recommendation after the test?
After reviewing the sample result and application requirements, Oceanplayer can recommend a suitable machine type, power range, accessories and workflow direction for the project.