oceanplayer

Oceanplayer Laser Equipment | Cleaning, Welding, Marking, Automation Sample Testing | Global Shipping | OEM/ODM Support
Laser Marking Guide

Laser Marking Explained: How It Works, What It Marks and How to Choose a System.

Learn how laser marking creates permanent logos, serial numbers, QR codes, barcodes, Data Matrix codes and product IDs on metal, stainless steel, aluminum, plastic and coated materials. This guide explains marking principles, laser types, material choices, code readability and sample testing in one complete page.
  • Fiber, MOPA, UV and CO2 laser marking basics
  • Metal, stainless steel, aluminum and plastic marking
  • QR code, barcode, serial number and logo results
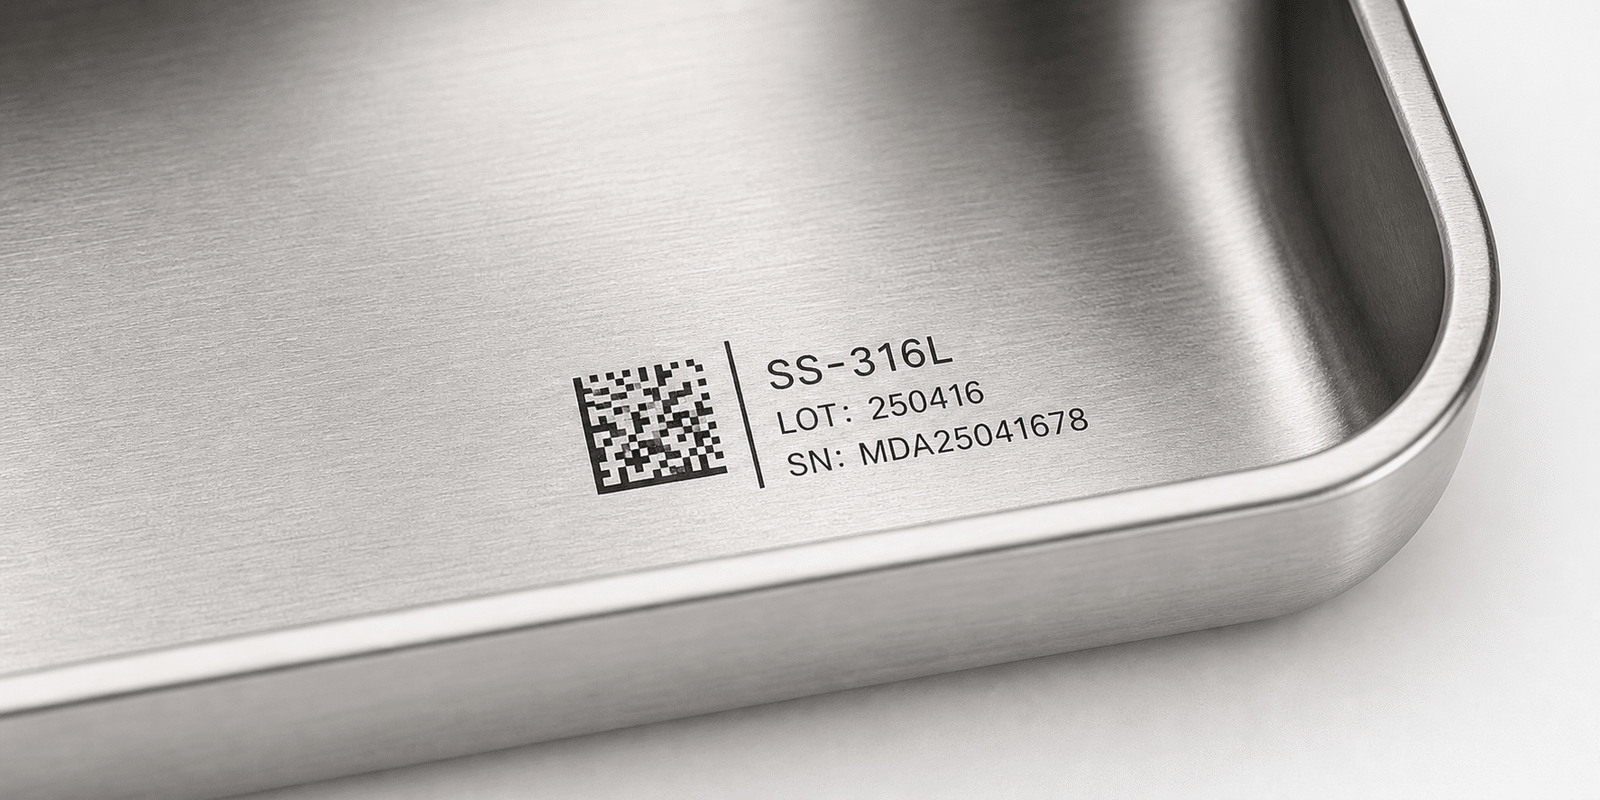
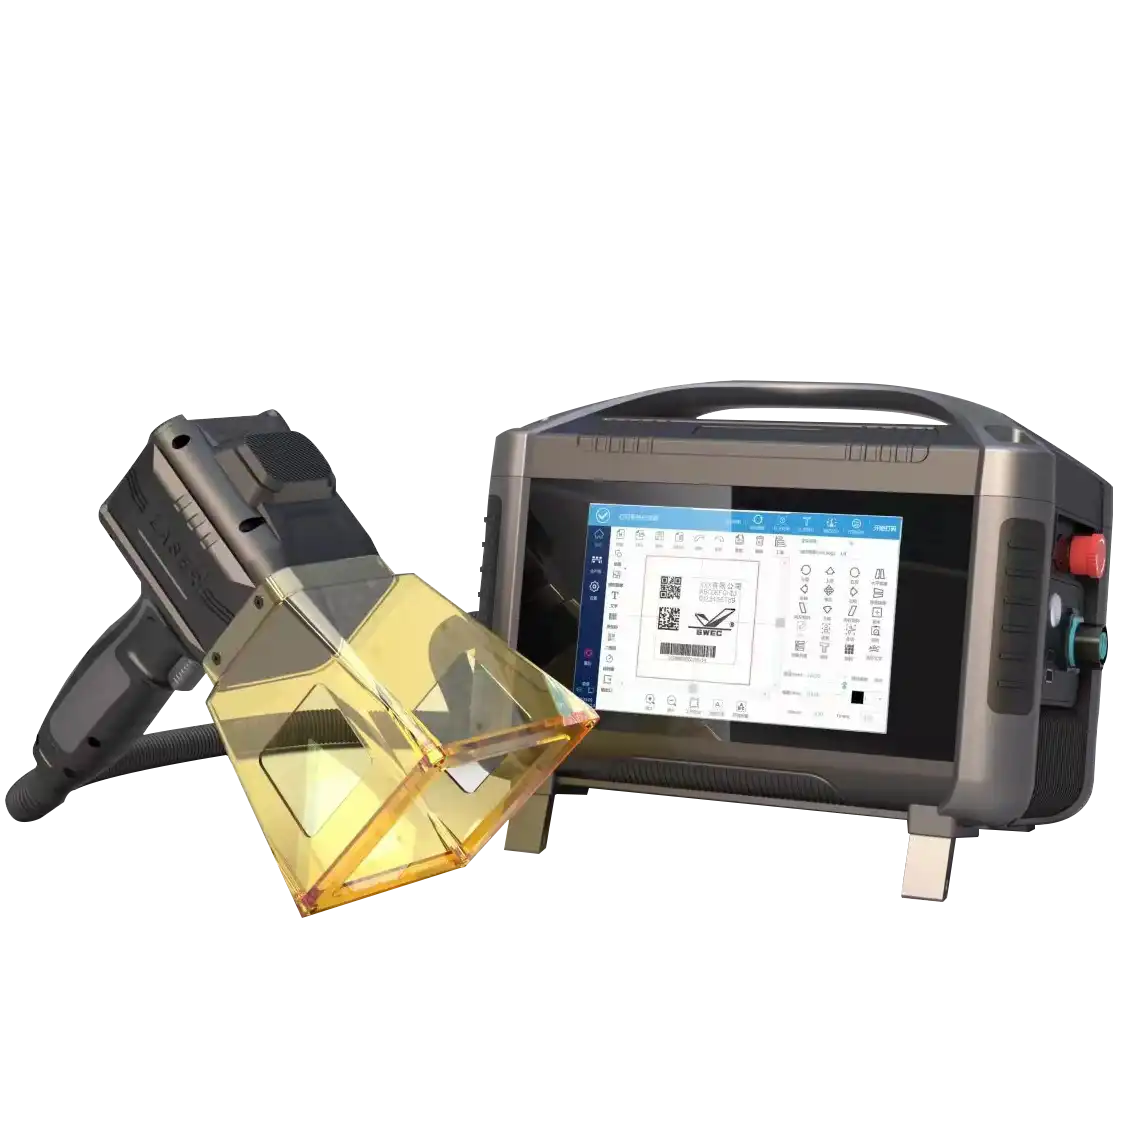
Laser marking guide showing marked metal and plastic parts with QR code and serial number
Complete learning page Principle, materials, code quality, laser choice and testing
MarkCodes and logos
ReadTraceability
VerifySample result
Process ClarityUnderstand how laser energy changes the material surface
Material MatchCompare metal, stainless steel, aluminum, plastic and coated parts
Laser SelectionChoose fiber, MOPA, UV, CO2 or automated marking systems
Code QualityConfirm contrast, readability, durability and production speed
Page Guide

Explore laser marking from surface reaction to system choice

Move through the key topics in a practical order: what laser marking is, how it works, which materials it marks, how to choose a laser type and how to confirm code quality.

What is laser marking?

Laser marking is a non-contact process that uses focused laser energy to create a permanent mark on a material surface. Depending on the material and laser settings, the mark can be a color change, black mark, engraved depth, foamed plastic mark, ablated coating or high-contrast code.
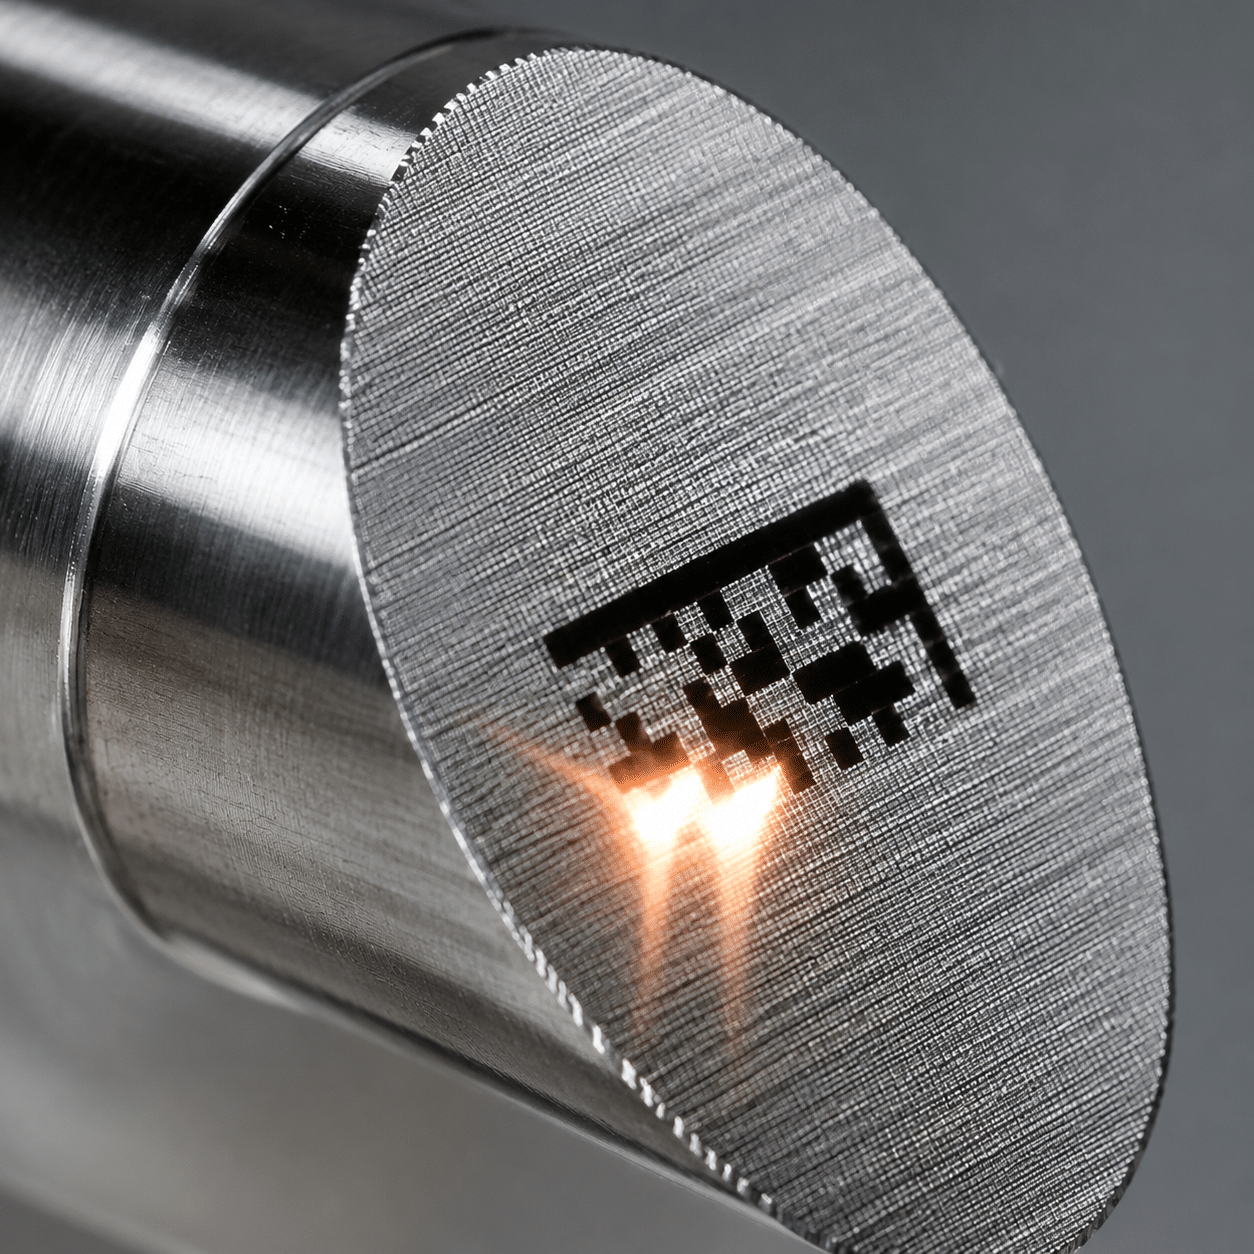
PermanentMarks can remain readable through handling, assembly and service.
Non-contactNo ink, label or physical tool touches the part surface.
Data readySerial numbers, QR codes and barcodes can support traceability.
FlexibleLogo, text, code and batch data can be changed digitally.
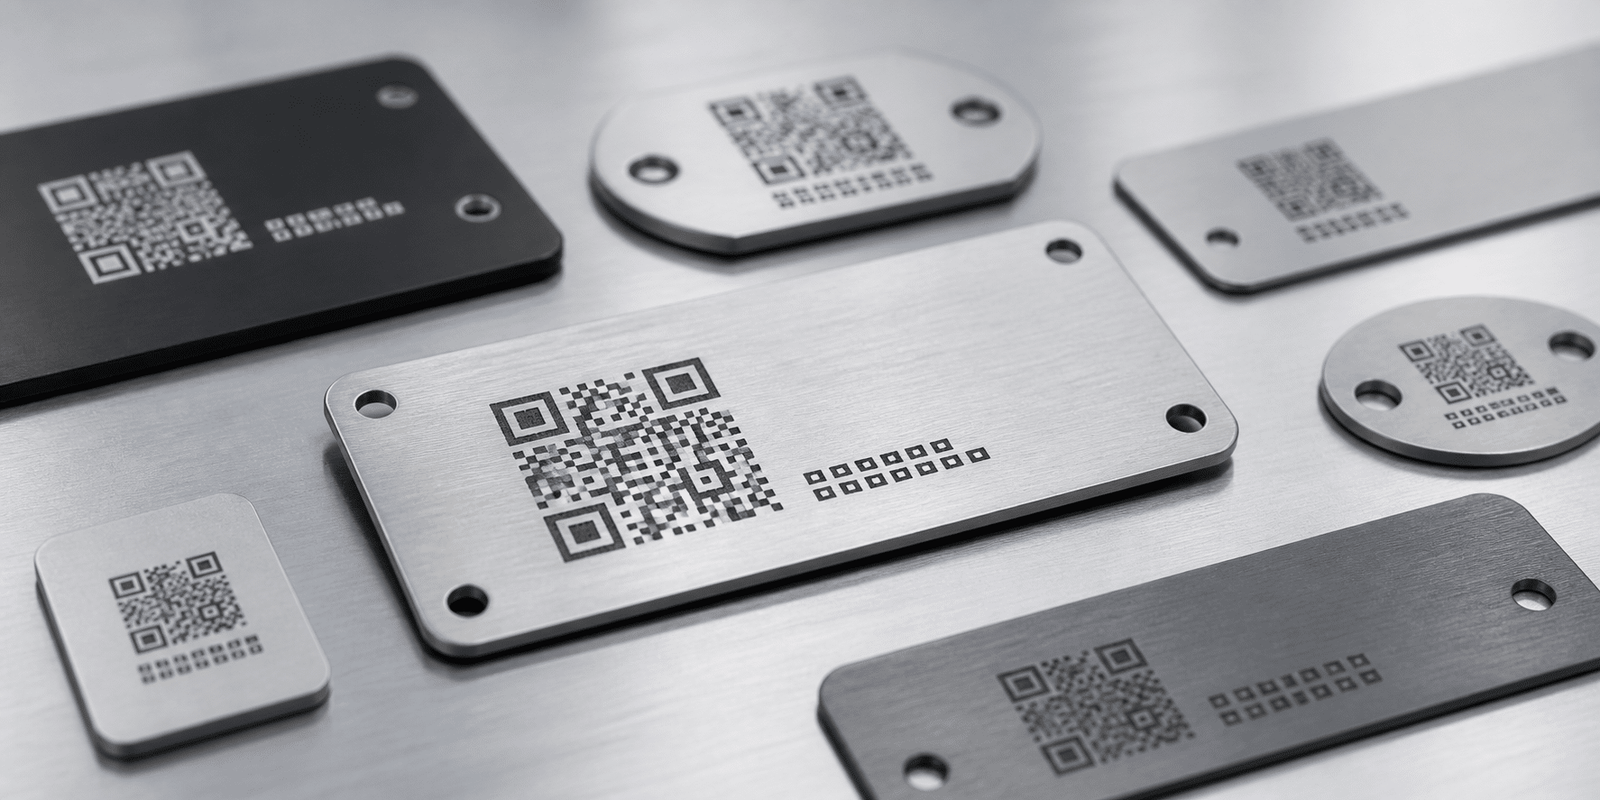
Laser marking process creating QR code serial number and logo on parts
Process Flow

How laser marking creates durable codes and visible marks

Laser marking quality depends on laser wavelength, pulse behavior, material absorption, focus position, marking speed, line spacing and the required final contrast or depth.

Step 01

Artwork or data is prepared

Logo, serial number, QR code, barcode or batch data is loaded into the marking software.

Step 02

Part is positioned

The surface is placed at the correct focus distance with stable fixture support.

Step 03

Laser reacts with the surface

The beam changes color, removes coating, engraves depth or creates contrast.

Step 04

Code quality is checked

Readability, contrast, size, alignment and data accuracy are verified.

Step 05

Production flow is planned

Manual loading, rotary marking, vision checking or automation can be added.

Materials And Results

What materials can laser marking work on and what results are common?

Different materials require different laser types and parameters. The best choice depends on contrast, depth, speed, heat sensitivity, code size and durability requirements.

Metal

Logos and serial numbers

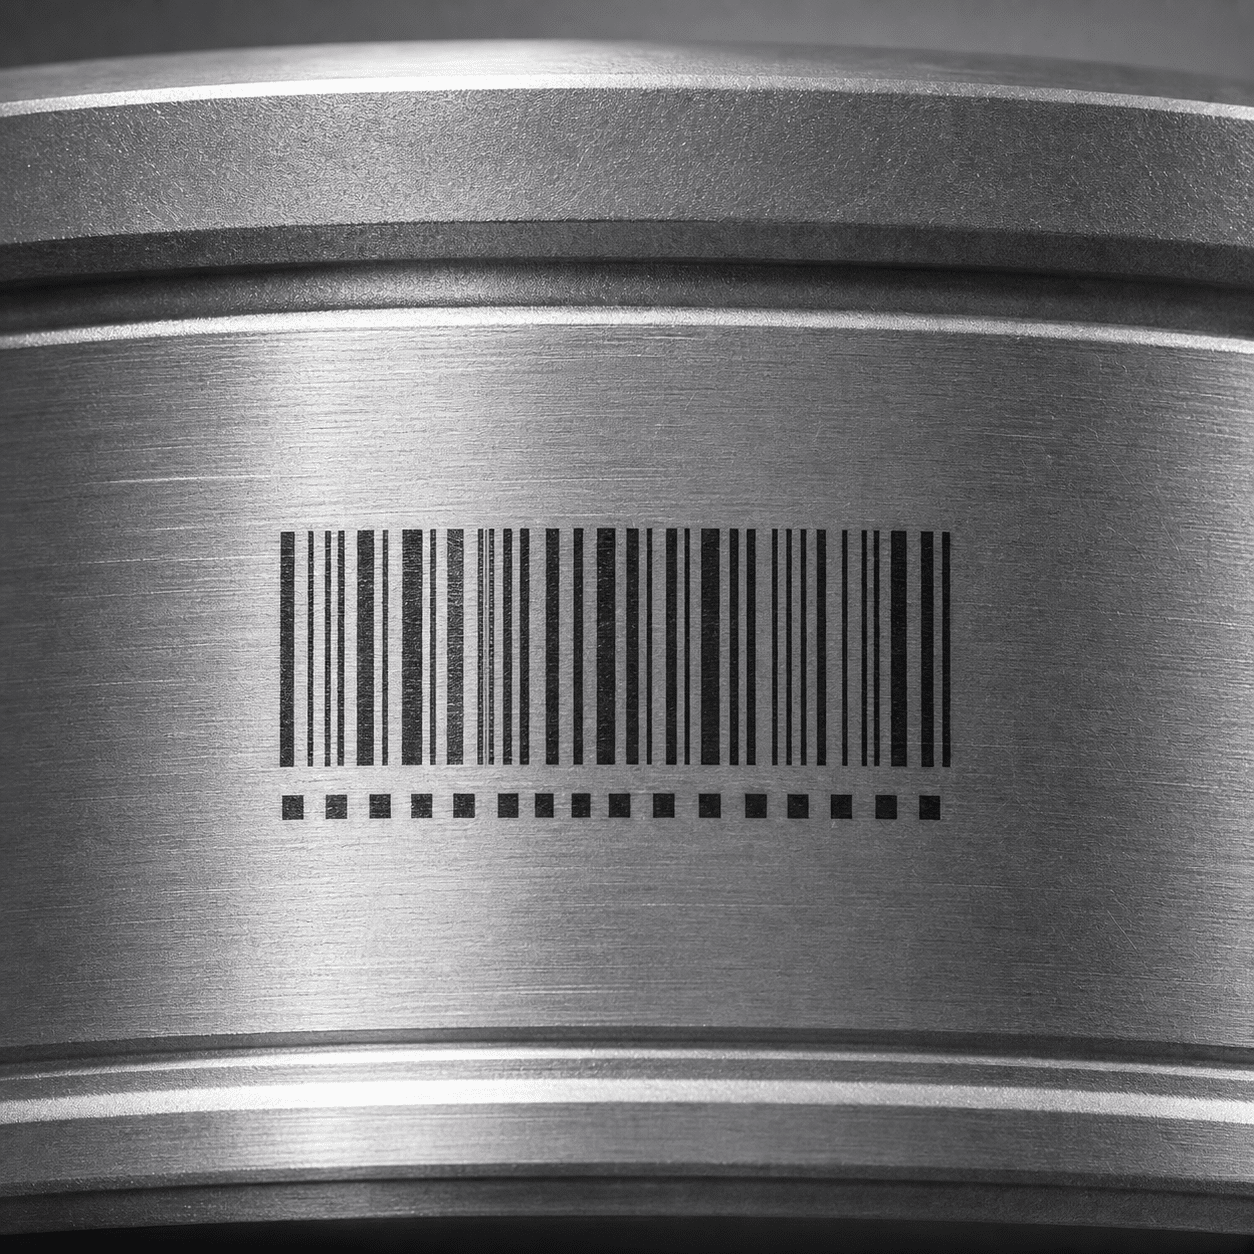
Fiber laser markers are commonly used for industrial metal parts, tools, plates and components.

SS

Black mark on stainless steel

MOPA laser marking is often selected for black marks, fine contrast and visible product marking.

Al

Aluminum marking

Fiber or MOPA systems can mark logos, codes and IDs on anodized or bare aluminum parts.

ABS

Plastic marking

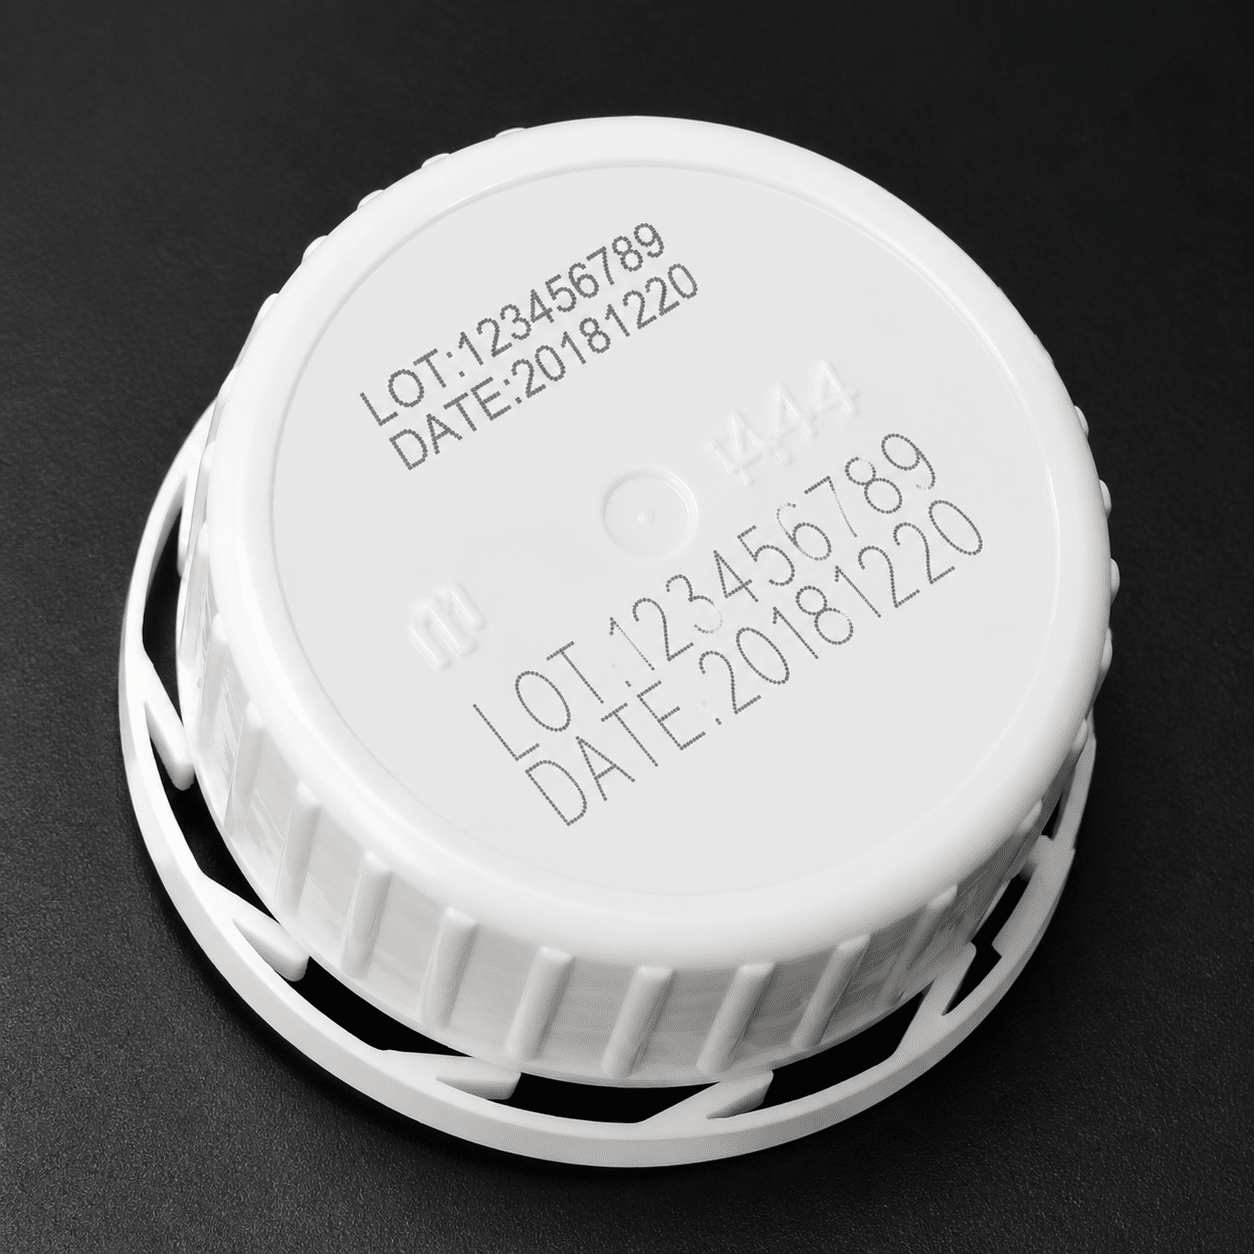
UV, fiber, MOPA or CO2 selection depends on plastic type, additive, color and surface response.

Method Comparison

Laser marking compared with labels, inkjet and mechanical engraving

The best marking method depends on part material, service environment, required durability, code size, production speed and traceability needs.

MethodStrengthCommon LimitationGood Fit
Laser markingPermanent, no consumables, flexible data and high precisionNeeds correct laser type, fixture and parameter setupTraceability codes, logos, serial numbers and durable product IDs
LabelsEasy to apply and colorfulCan peel, wear, stain or fail in harsh environmentsPackaging, short-term identification and non-critical labeling
Inkjet printingFast for packaging and moving productsInk may smear, fade or require consumables and maintenanceHigh-speed packaging lines and temporary codes
Mechanical engravingCreates physical depth and familiar tool processTool wear, slower pathing and contact force may affect small partsDeep marks on selected metals and low-volume engraving
Laser Types

Choose the marking laser by material and required result

Fiber, MOPA, UV and CO2 lasers are used for different surfaces. The correct choice should start from the marking result you need, not only the machine power.

Fiber laser marker

Common choice for metal logos, serial numbers, barcodes, QR codes and deep engraving.

MOPA laser marker

Useful for black stainless steel marking, color-sensitive results and wider pulse control.

UV and CO2 markers

UV is often used for fine marking on plastics and sensitive materials. CO2 is used for wood, glass, paper, leather and many non-metal surfaces.

Code Quality

Good laser marking must stay readable through production and service

For traceability, the mark is not only a visual pattern. It must remain readable after handling, cleaning, assembly, storage, shipment and the product's working environment.

  • QR codes and Data Matrix codes should be tested for size, contrast and scanning distance.
  • Serial numbers should remain clear after handling, coating, cleaning or assembly steps.
  • Deep engraving improves wear resistance but may require more cycle time.
  • Black marking on stainless steel should be checked for surface finish and corrosion requirement.
Laser marked QR code barcode serial number and logo on industrial parts
Result Guide

Select the system by the mark result you need

The same material may require different laser settings depending on whether you need contrast, depth, speed, corrosion resistance or code readability.

Marking RequirementCommon Laser ChoiceBest UseWhat To Check
Standard metal logo or serial numberFiber laser markerTools, plates, hardware, machinery parts and metal tagsContrast, depth, cycle time and mark size
Black mark on stainless steelMOPA laser markerMedical tools, visible products, QR codes and logosPulse settings, surface finish and corrosion requirement
Small code on sensitive plasticUV laser markerElectronic parts, medical plastics, packaging and fine codesBurn marks, contrast, material grade and heat sensitivity
Non-metal markingCO2 laser markerWood, paper, leather, glass, acrylic and selected packagingMaterial reaction, smoke, edge quality and marking depth
Production traceabilityAutomated laser marking systemSerial numbers, QR codes, barcodes and batch productionData input, fixture, code reading and line integration
Application Gallery

Common laser marking applications across products and industrial parts

Use these examples to understand common marking results and what should be tested on your own materials.
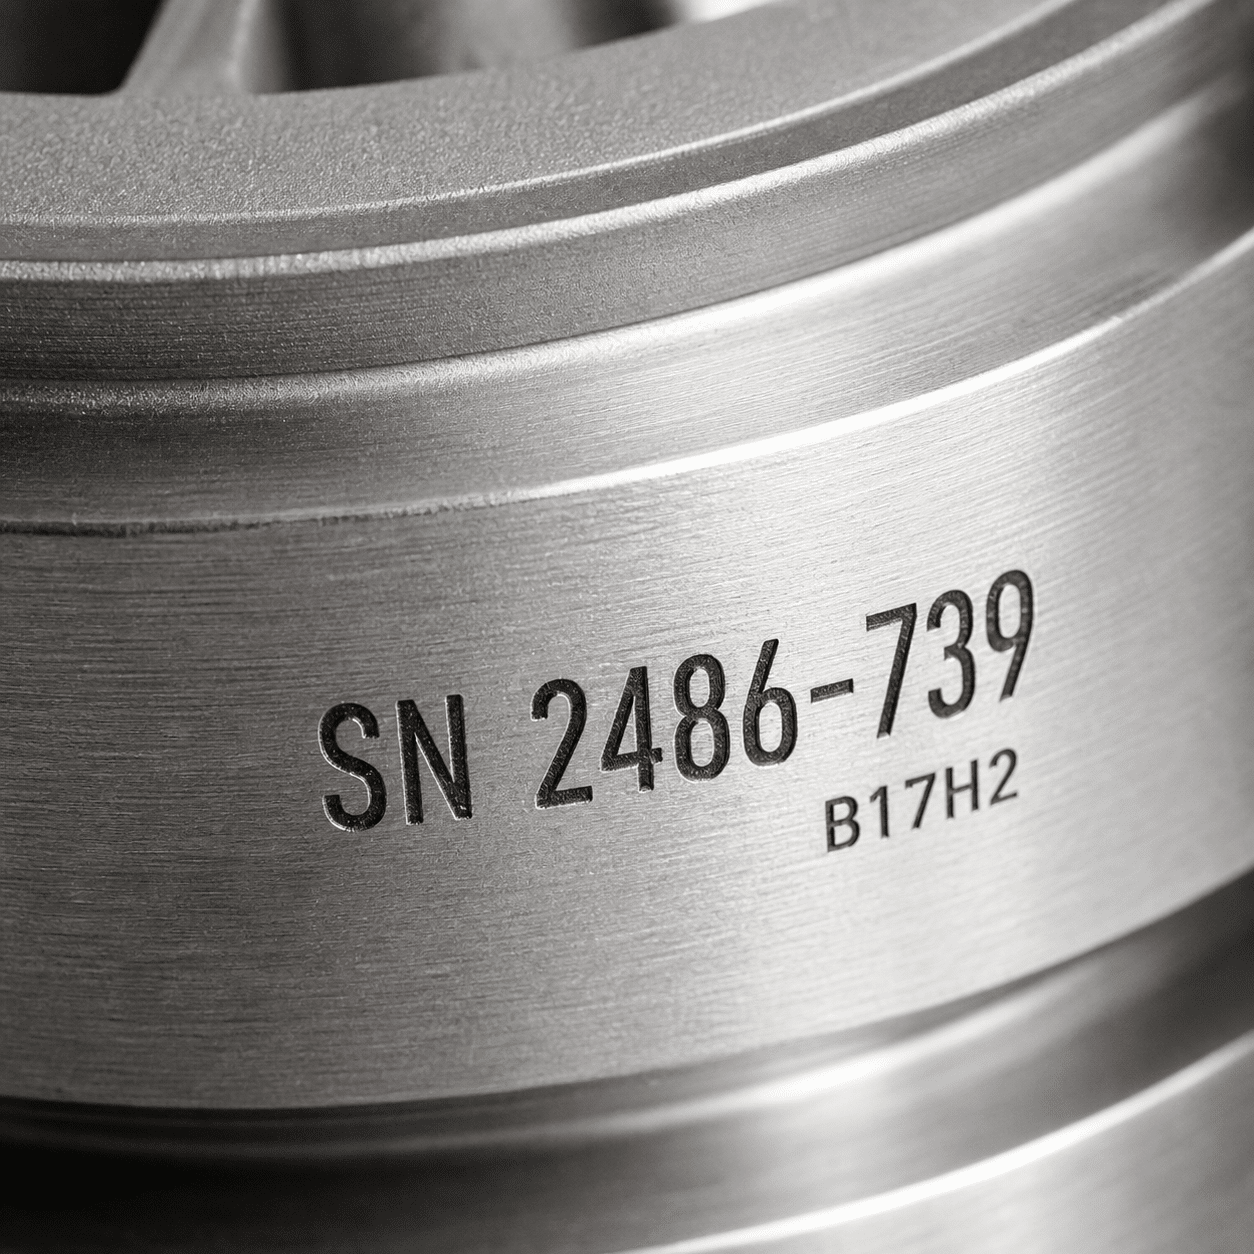
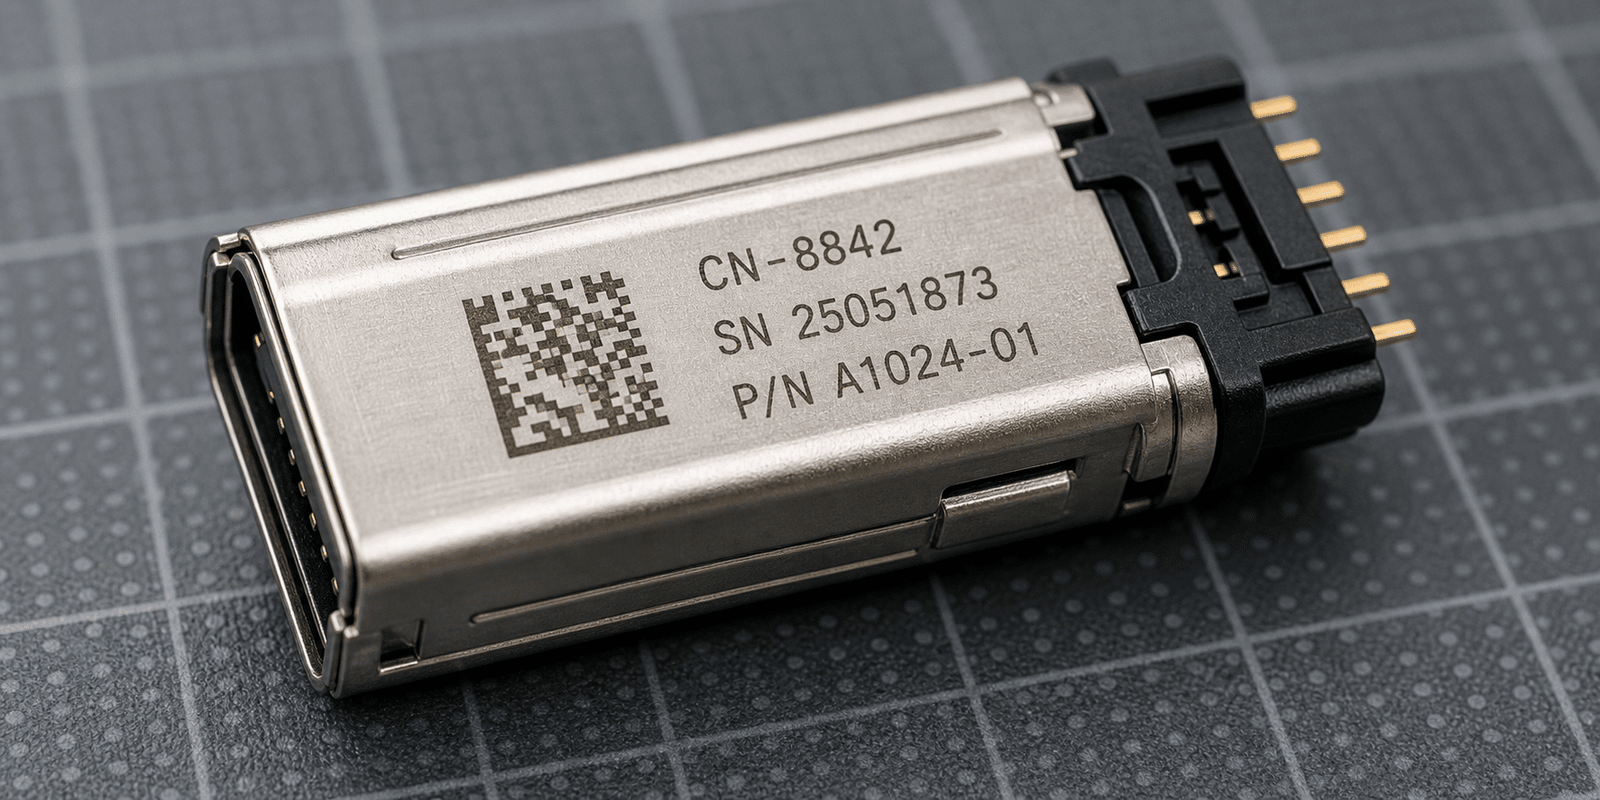
Laser marking should be tested with the real material, finish and code size.

The most reliable way to choose a marking system is to test your actual part surface, required contrast, code size, scanning distance, durability and production speed.

1

Share part details

Send material, surface finish, color, size, drawing, logo file or code requirement.

2

Check mark quality

Review contrast, depth, edge clarity, code readability and surface change.

3

Choose laser type

Select fiber, MOPA, UV, CO2 or automated marking based on the tested result.

4

Plan production

Confirm fixture, rotary attachment, data input, code reader and line integration needs.

Related Pages

Continue learning with Oceanplayer laser marking resources

Explore related product and application pages after understanding the basics of laser marking.

Laser Marking FAQ

Common questions about laser marking technology

These answers explain the process, suitable materials, laser type differences and why sample marking matters before final configuration.

What is laser marking used for?
Laser marking is used to create permanent logos, serial numbers, QR codes, barcodes, Data Matrix codes, part IDs and traceability marks on metal, stainless steel, aluminum, plastic and many industrial products.
How does laser marking work?
A focused laser beam reacts with the material surface. Depending on the laser type and settings, it can create color change, black marking, engraving, coating removal, foaming on plastic or high-contrast codes.
What is the difference between fiber and MOPA laser marking?
Fiber laser marking is commonly used for standard metal marking, serial numbers, barcodes and engraving. MOPA laser marking provides wider pulse control and is often selected for black marking on stainless steel, color-sensitive marking and fine contrast control.
When should I choose UV or CO2 laser marking?
UV laser marking is often selected for fine marks on selected plastics, electronics and heat-sensitive materials. CO2 laser marking is commonly used for many non-metal materials such as wood, paper, leather, glass, acrylic and packaging surfaces.
Why should I test my own parts before choosing a laser marker?
Different materials, finishes, colors and coatings react differently to laser marking. Sample marking confirms contrast, depth, edge quality, code readability, cycle time and the suitable laser type before configuration.